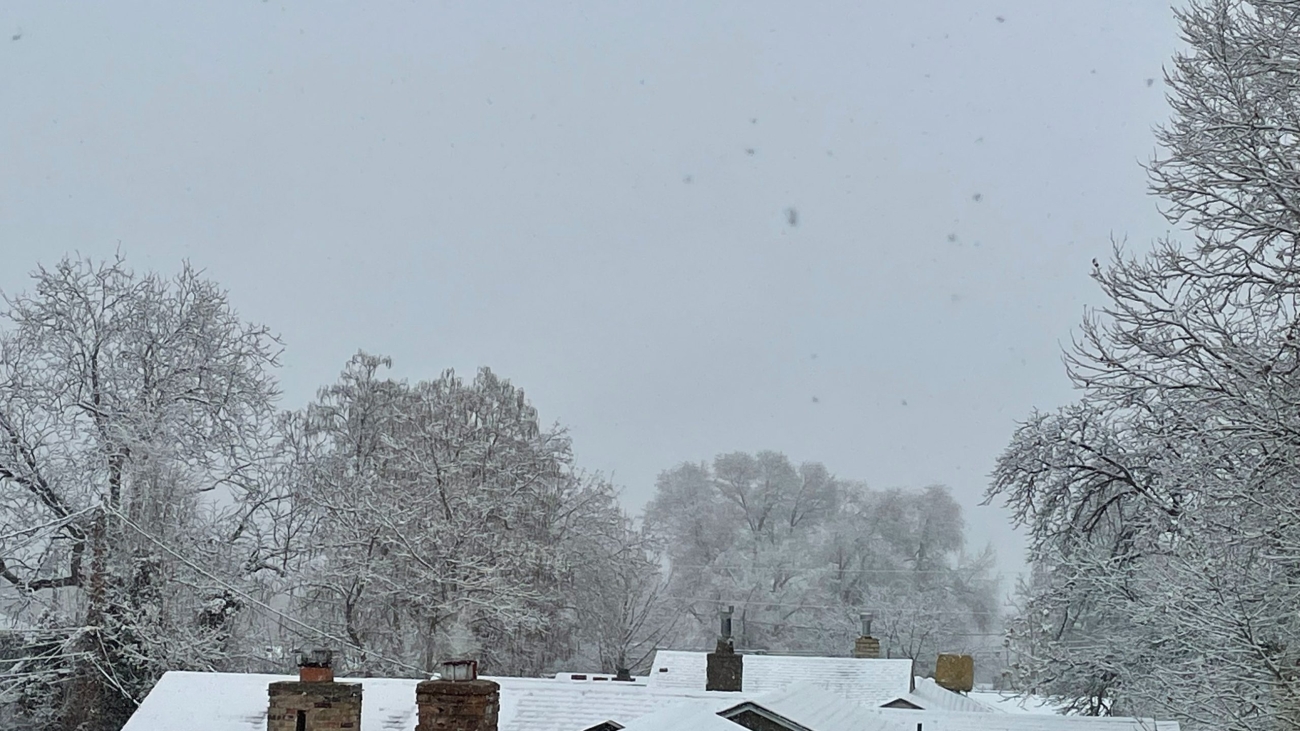
Winter is definitely here in Vancouver and as you all know, the harsh conditions can cause damage and decrease the longevity of your home’s roof. If your roof needs repairs, it’s generally better to do them in the drier months. In fact, most experts say the best time to do work on a roof is from July to August when the weather is best. In a perfect world, summer would be great to finish all those projects, but your roof doesn’t just leak during those months.
Moreover, In British Columbia, where the weather is often unpredictable, these ideal conditions can be few and far between. Most roofing companies have to consider how they can perform a roofing job in the winter, in less than ideal conditions.
While not always the best, roof construction and repair can be done in cold weather, as long as precautions are taken. In winter, roofers face a variety of challenges including:
- Roofing materials don’t work quite as well as they do in moderate temperatures.
- Shorter days give roofers less time to work which generally means the project takes longer.
- Tools such as nail guns generally don’t work as well in the cold.
- Snow and ice can create hazards or cover up dangers to roofers.
What to Expect When Roofing in Winter
Roofing in winter weather requires a lot more foresight, planning and safety precautions than summer days. Be aware that some companies will charge you up to 20% more for their services, while other companies will be looking for work and might give you a discount. Whatever you do, you should shop around and get between three to five quotes and ask them specifically about their winter work.
Winter Safety Is The Most Important
Safety is obviously the most important thing when it comes to roofing – no matter what time of year. Under no circumstances should you hire a company that doesn’t take safety serious as there are some unique cold weather issues to be aware of when doing winter roofing work.
For example, roof surfaces can become slippery thanks to snow, ice, and frost. A common winter problem is snow removal or de-icing of the roof surface must be done after a snowstorm. The roofers must take extra precaution and use specialized equipment, which they need to be trained on, along with increased monitoring while the removal is taking place.
Snow can also disguise dangers such as skylights, debris and other risks. The roofing contractor needs to pay close attention to where they walk to ensure they don’t accidentally step on or fall through a skylight or trip over hazards hidden under snow. Even on a freshly cleared roof, there may be black ice or frost build-up on the roof or deck surface, which can make work extremely dangerous. If the temperature is too cold and the snow and ice remain, it is best to wait until the weather warms up.
Another thing to do before getting a roofing contractor to work is to ensure that the attic space is adequately air-condition. Often, what appears to be a roof leak is actually condensation from interior air drifting up into a cold, improperly ventilated attic.
Working in the Winter
Working in cold, damp temperatures can put a strain on the body, making your heart and lungs work harder, while at the same time putting you at increased risk for hypothermia or frostbite. Be aware roofers, as mentioned before, will work shorter hours, and plan around the sunshine and weather forecasts. Be prepared for work stoppage and delays because of the weather.
Roof contractors should also wear warm clothing that is breathable but also provides an ample range of motion. If you notice that a roofer isn’t appropriately dressed, do not let them work.
The Weigh Of Your Roof
Another thing to consider is the extra weight that snow and ice can add to a roof. If you add a human’s weight into the mix, you can potentially be looking at serious injury. A roofer must ensure that the surface he is working on is sturdy and safe from collapse. An experienced roofer will test the structure before beginning to work on it to ensure that there is no danger from collapse.
Equipment and Materials
Now you know what to expect in the winter, you also have to keep in mind the quality of craftsmanship which can suffer if the roofer is inexperienced.
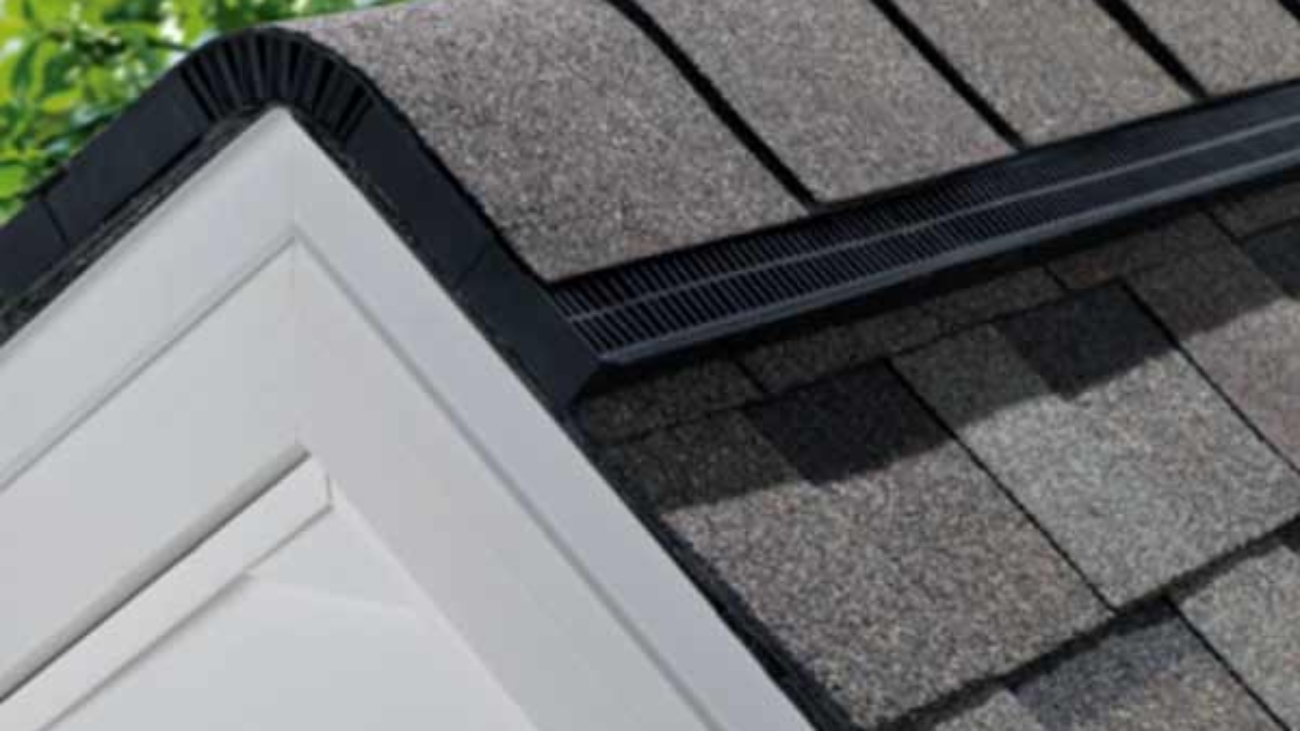
Asphalt shingles
The best temperatures to install asphalt shingles is between 4 and 26 degrees Celsius. If a roofer decides to install roofing shingles in cold weather below these temperatures, your shingles may become brittle and more prone to breakage. To prevent this, when working in below-zero temperatures, make sure the roofer stores your materials in a warm place until you need them. Shingles will mould to the shape of the surface they rest on, so if you are buying them before using them, keep them flat, stacked and raised on pallets so they don’t touch the ground. Be aware that a roofer should not work in below-zero temperatures unless it is an emergency situation that needs fixing.
Types of Roofing Materials
Most roofing organizations recommend using winter weather membranes to seal your eaves, valleys, skylights, and vents, rather than warm weather roll roofing, which can buckle or warp when applied in cold weather. When you choose to use any kind of felt or membrane, the roofer will roll it out in a staging area, away from the elements and allow it to relax before you apply. This will help reduce wrinkles caused by the weather.
Conclusion
The information in this blog is purposeful to be a starting point for cold weather roofing applications. Each situation is different and as always consult a professional roofer before starting. If you have any questions, then please don’t hesitate to contact us at Cambie Roofing to schedule a free roofing estimate.