
The difference in how you install (replace) a roof in the present compared to the past is like night and day. Thanks to a gazillion “how-to” blogs and instructional videos on YouTube, anyone with the confidence, tools, and the right physical condition can do it. But here’s the thing: installing a roof is still not a project you should undertake if you’re not confident in your DIY skills. It’s a physically demanding job that requires safety precautions, including working from heights. One misstep could mean serious injury. So, while we won’t try to dissuade you from taking on the challenge as we’re advocates of DIY, we’ll provide you with valuable tips before you start swinging those hammers. Let’s find out How to Install Asphalt Shingles.
Step 1 – Focus on safety above all things
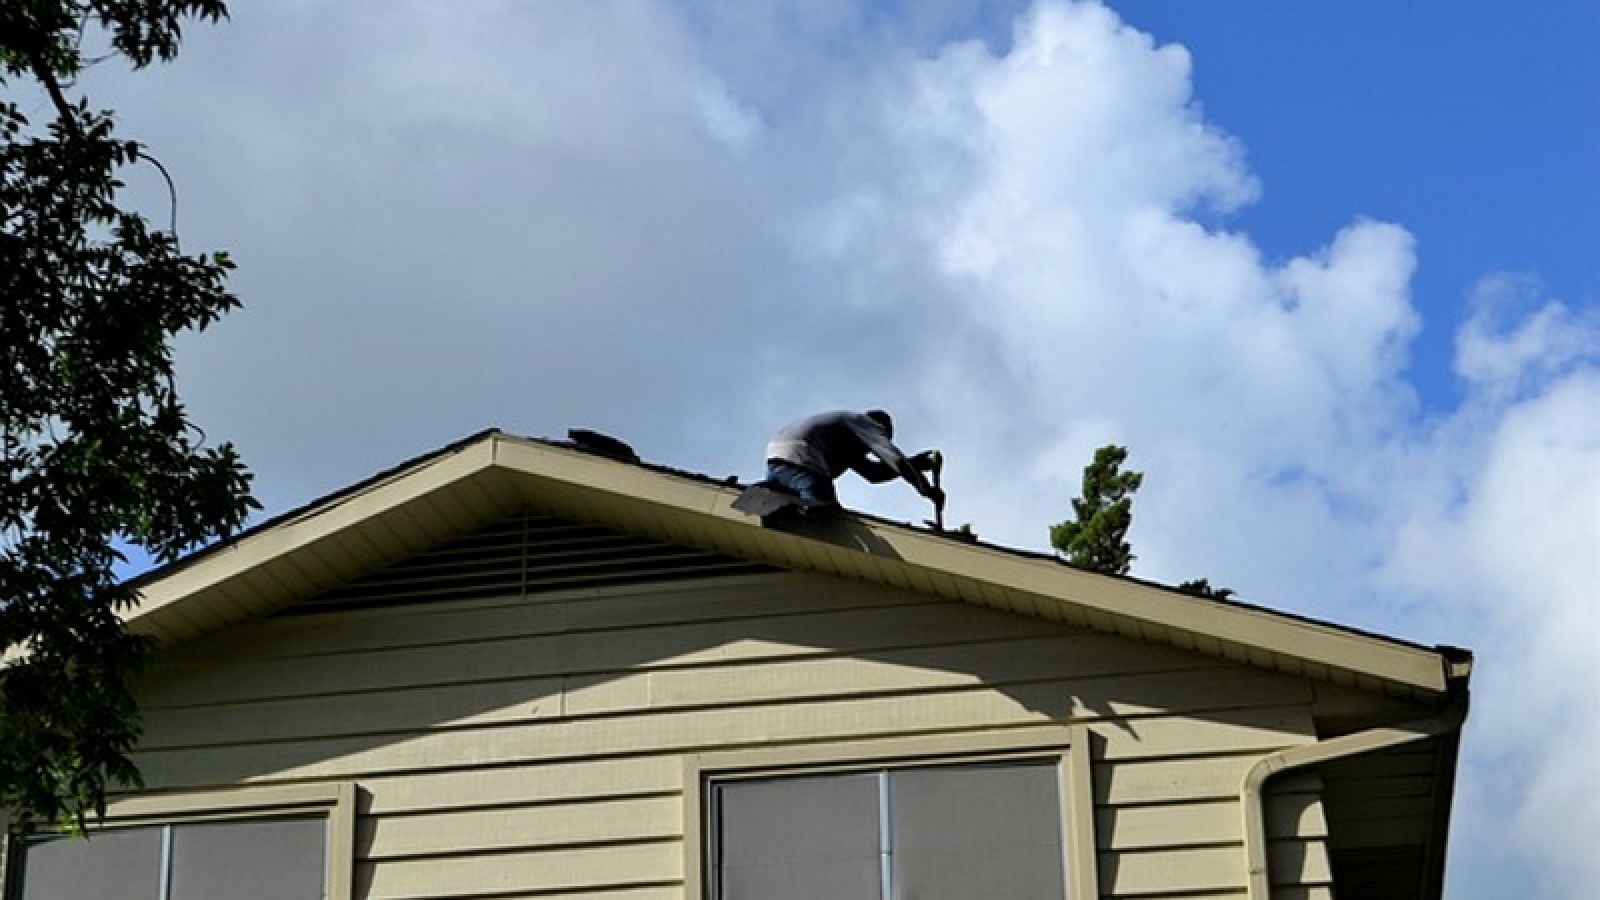
The inexperienced homeowner is more likely to fall off the roof while attempting to install asphalt shingles than a qualified roofer. The difference between the former and the latter is that the roofer has presumably been properly trained and knows how to work on a roof safely.
That’s not to say that you can’t install asphalt shingles – you absolutely can, but be sure to take all necessary precautions, including using a ladder or scaffold when working from height, wearing a hard hat, and using safety ropes.
Pro Tip: Not many DIYers realize the value of wearing the right shoes when working on a roof. Many roofing accidents occur because people are wearing the wrong type of footwear, which can cause them to slip and fall. When installing asphalt shingles, wear shoes with soft rubber soles and good tread. That’ll help you maintain traction on the roof and prevent slips and falls.
Step 2 – Study how sloped roofing systems work
It’s not all about you getting up there and hammering away. You need to understand the roofing system you’re working with to install the asphalt shingles properly.
Asphalt shingles are most commonly used on pitched roofs with a sloped surface. The slope of the roof is necessary so that water can run off the roof and away from the building. If you’re not sure how to determine the slope of your roof, there are a few ways to do it. You can use a level to find the pitch of the roof or, if you have access to the attic, measure the rise and run of the roof rafters.
Once you’ve determined the slope of your roof, you need to purchase asphalt shingles designed for that slope. Asphalt shingles come in various grades, each of which is designed for a specific sloped roof.
Pro Tip: If you install asphalt shingles that aren’t designed for the slope of your roof, they won’t perform as well and may even come loose and fall off. So, be sure to purchase the right shingles for your roof.
Step 3 – Gather your tools and materials
You’ll need a few essential tools to install asphalt shingles, including a chalk line, utility knife, hammer, pry bar, and nails. In terms of materials, you’ll need asphalt shingles and felt and cement designed for roofs.
Pro Tip: Be sure to use galvanized or stainless-steel nails when installing asphalt shingles as they won’t rust like regular nails.
Step 4 – Prepare the roof surface
Before installing the newly purchased asphalt shingles, you need to prepare the roof surface. This means getting rid of any existing roofing material and making sure the roof is clean and debris-free. If you’re replacing an existing roof, you’ll need to remove all of the old shingles and the felt paper and any nails left behind. Once that’s done, you can sweep or blow off the roof surface to remove any small debris.
Pro Tip: Be sure to inspect the roof deck for any signs of damage, such as rot or water damage. Any damage must be fixed before proceeding with the installation of the new shingles.
Step 5 – Begin working from the bottom up
Once the roof surface is prepared, you now begin with the drip edge. It’s important to work from the bottom up so that water runs off the shingles and doesn’t seep underneath.
The drip edge serves as the first line of defence against water infiltration and should be installed at the roof’s eaves. It’s a metal or vinyl strip placed along the edge of the roof, extending over the gutter.
Pro Tip: The drip edge should overhang the gutter by at least an inch.
Step 6 – Install the felt paper
The next step is to install the felt paper. Felt paper is a water-resistant material placed between the roof deck and the asphalt shingles. It helps protect the roof deck from moisture and extends the life of the shingles.
You only need to nail the felt paper down with galvanized or stainless-steel nails to install the felt paper. Be sure to overlap each row of felt paper by at least two inches.
Pro Tip: Don’t forget to install a strip of felt paper along the rake edge, the edge of the roof extending over the gutter.
Step 7 – Install an ice and water protector
If you live in a region with harsh winter, installing an ice and water protector is a good idea. An ice and water protector are a synthetic underlayment that helps prevent ice dams and water damage.
The ice and water protector should be installed before the final row of shingles. This will help keep your roof protected from the elements.
Pro Tip: Consult with a professional roofer to see if an ice and water protector is necessary for your region.
Step 8 – Add the roof underlayment
Before installing the roofing cement, you’ll need to install the roof underlayment. The roof underlayment is a layer of asphalt-saturated felt that helps keep the roof deck dry. If your area isn’t prone to harsh winter, you’re better off starting the underlayment at the eave rather than the whole length of the roof.
Installing the underlayment is a simple process. Just unroll it and nail it in place. As in the previous step, you need to overlap each piece by two inches.
Pro Tip: You must also use galvanized or stainless-steel nails to avoid premature rusting when installing the roof underlayment.
Step 9 – Cover the joints and valleys
Some areas or components of the roof need flashing, the purpose of which is to divert water and moisture. The flashing needs to be covered in roofing cement to create a waterproof seal.
The flashing is found at the joints and valleys of the roof. The joints are where two pieces of the roof meet, while the intersection of two sloping roofs forms the valleys.
Simply cut it to size and nail it in place to install the flashing. Then, apply a generous amount of roofing cement over the seams and allow them to dry.
Pro Tip: If you’re not sure how to install the flashing, consult with a professional roofer. You can’t “redo” this step, so it’s better to learn everything about it before proceeding.
Step 10 – It’s time to shingle
Starting at the bottom of the roof, install the first row of shingles. Align the shingles and nail them in place. Be sure to stagger the joints of the shingles as you install them. This will help keep water from seeping underneath the shingles.
Pro Tip: It’s good to use a chalk line to help you keep the first row of shingles straight.
Step 11 – Proceed with the installation of the rest of the shingles.
Once you’ve installed the first row of shingles, continue working your way up the roof, installing one row at a time. Like the previous step, don’t forget to stagger the joints of each row of shingles and use a chalk line to keep the rows straight.
Pro Tip: Use a utility knife to trim any shingles that hang over the roof’s edge.
Step 12 – Don’t forget the hip and ridge caps
If your roof has a hip or ridge, you’ll need to install hip and ridge caps. The hip and ridge caps are pieces of metal or asphalt that cap off the hips and ridges of the roof.
Installing the hip and ridge caps is a simple process. Just measure the length and width of each hip and ridge, then cut the caps to size. Once you’ve cut the caps to size, nail them in place.
Pro Tip: It’s best to use longer nails for ridge cap shingles for them to penetrate the roof deck.
At this point, you already have a clearer picture of how to set up and install asphalt shingles. That’ll help you acknowledge the cost as you purchase the necessary materials for the project and the intricacies that often go into roofing. There’s no shame in consulting a professional if you don’t feel confident.