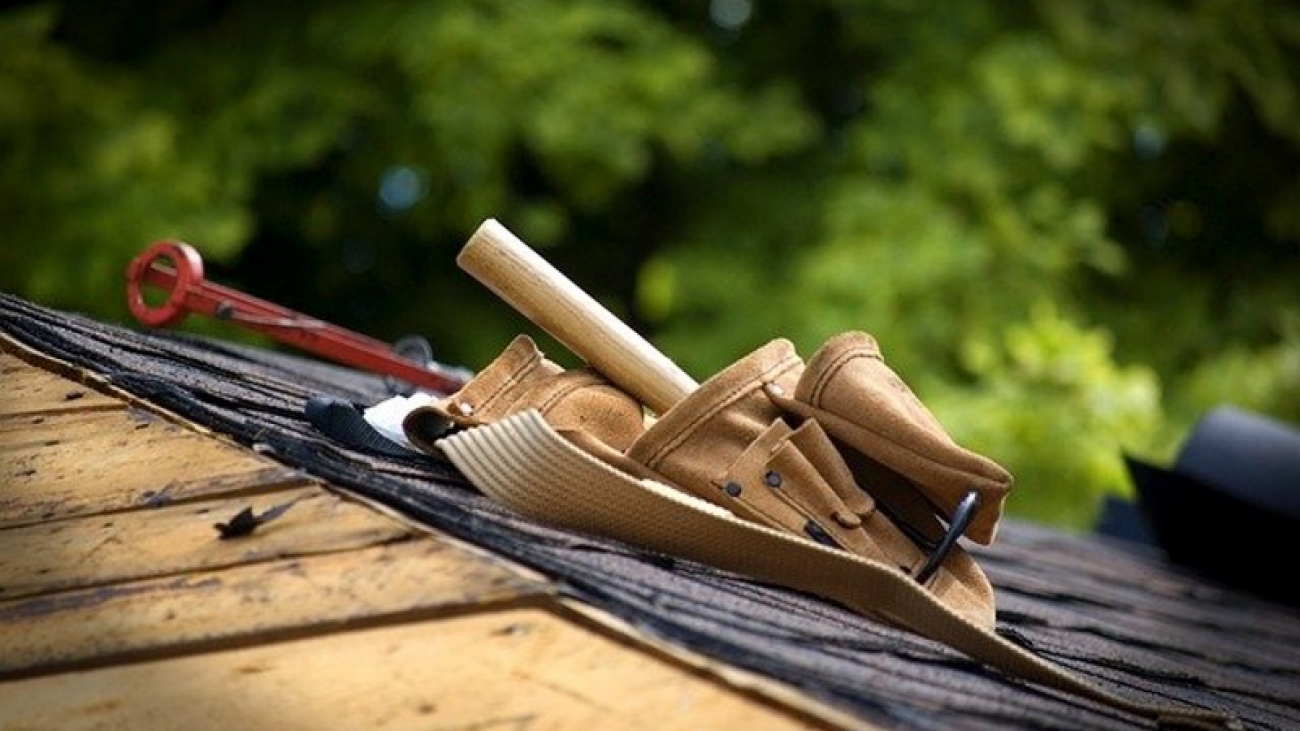
Types of Roofing Materials
As a homeowner, you may not think much about your roof, but it is one of the most important aspects of your home and it should be well maintained. Having the right roof not only adds value to your home, but it communicates your style to everybody who passes by. While roof framing, preparation and proper installation are important factors, the materials you choose for your roof really are the most important decisions you’ll make. To help, we’ve compiled a list of roofing materials you may want to consider for your next project.
Asphalt Shingles
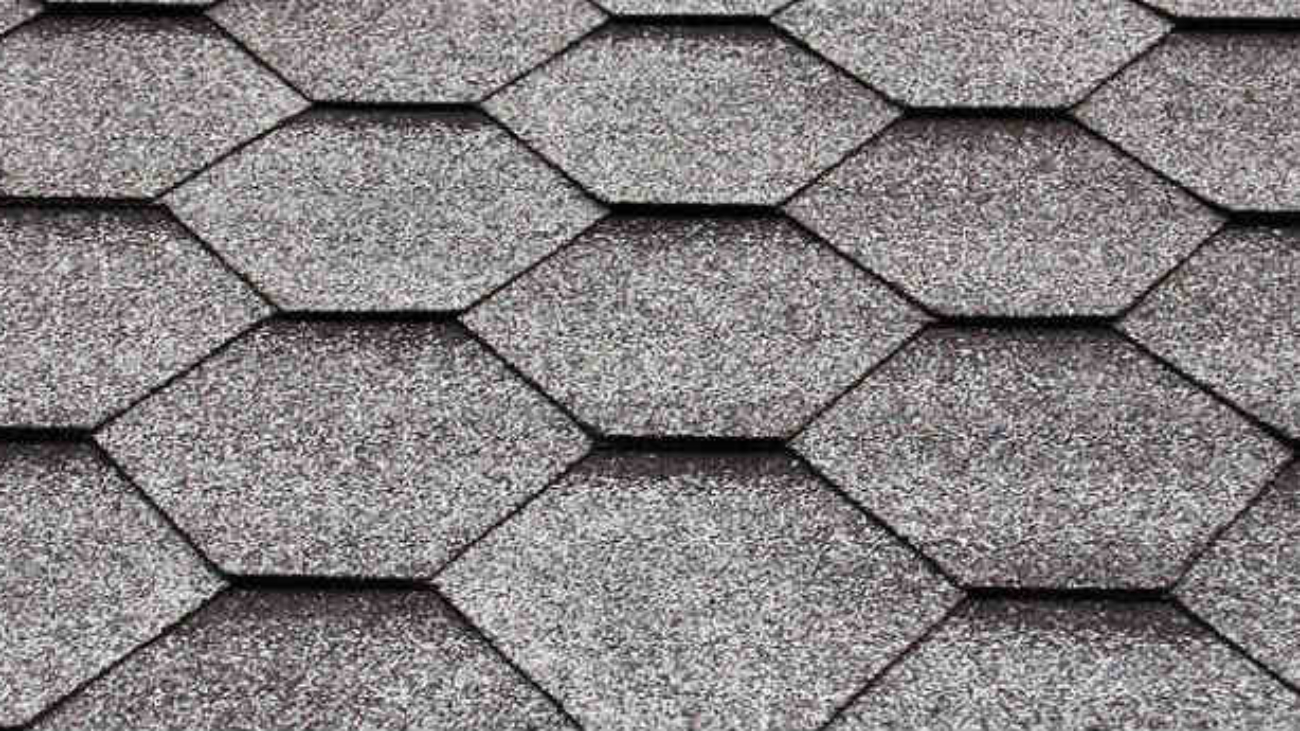
Asphalt shingles are one of the most popular roofing materials in Vancouver as they are durable, relatively inexpensive and are waterproof – a very important aspect in this city’s climate. They come in a wide variety of colours and styles and are easy to install. They are also suitable for a wide range of temperatures.
Asphalt shingle roofs should last between 20 and 50 years on average, providing that you properly maintain them and get a professional to check them biannually. Another factor to consider is that temperature extremes effect the lifetime of the roof and although Vancouver’s temperature stays relatively consistent, it’s something to be aware of.
Disadvantages of asphalt shingles include a shorter life than many heavier tiles, especially if they are walked on. Dark asphalt shingles are prone to fading and tend to exhibit inconsistencies in color. The black marks are caused by algae, which doesn’t survive well in direct sunlight. Homeowners can get rid discoloration by applying a sodium hypochlorite bleach solution and rinsing it off fresh water. Homeowners can also look for an algae-resistant shingle such as 3M’s Algae Block, which contains copper granules that can help prevent new growth.
Wood Shake and Cedar Shingles
This is another popular choice for Vancouverites, especially because they can be made from recycled wood. Being environmentally friendly and good for water runoff, they typically last 30 years or more. This makes them a solid investment for those wanting to have less of an environmental impact.
Slate and Title Roof Shingles
Slate and Tile Roof give your home a natural appearance. Although more expensive than asphalt, they are great for a classical, upscale home. Slate and Tile are resistant to rot and fire so you don’t need to worry about upkeep as much. They are available in a variety of colours and styles.
Disadvantages of slate and tiles are their weight and cost, as well as the high degree of expertise needed for installation. Slate tiles are easily broken underfoot, complicating gutter cleaning and rooftop maintenance.
Ceramic Roofs
Ceramic Tiles give a house character and are generally durable. Advances in the manufacturing process make the tiles resistant to fading. Ceramic tiles are fireproof and quality tiles should last 50 to 70 years.
The problem with ceramic roofing tiles include their unsuitability for climates with fluctuating weather, something to consider living in Canada. Ceramic tiles are prone to erosion under these conditions. While the tiles are durable, they are also fragile. High winds can damage them, as will walking on the tiles.
Clay and Concrete Tiles
Clay and concrete tiles are not very popular in Vancouver. They add texture and elegance to a roof. Genuine flat, ribbed or scalloped clay tiles are extremely durable but also very heavy, and must be installed by a knowledgable professional. Concrete tiles are versatile and are less expensive than genuine clay, but also have a heavy weight. So, these things are also one of the Types of Roofing Materials.
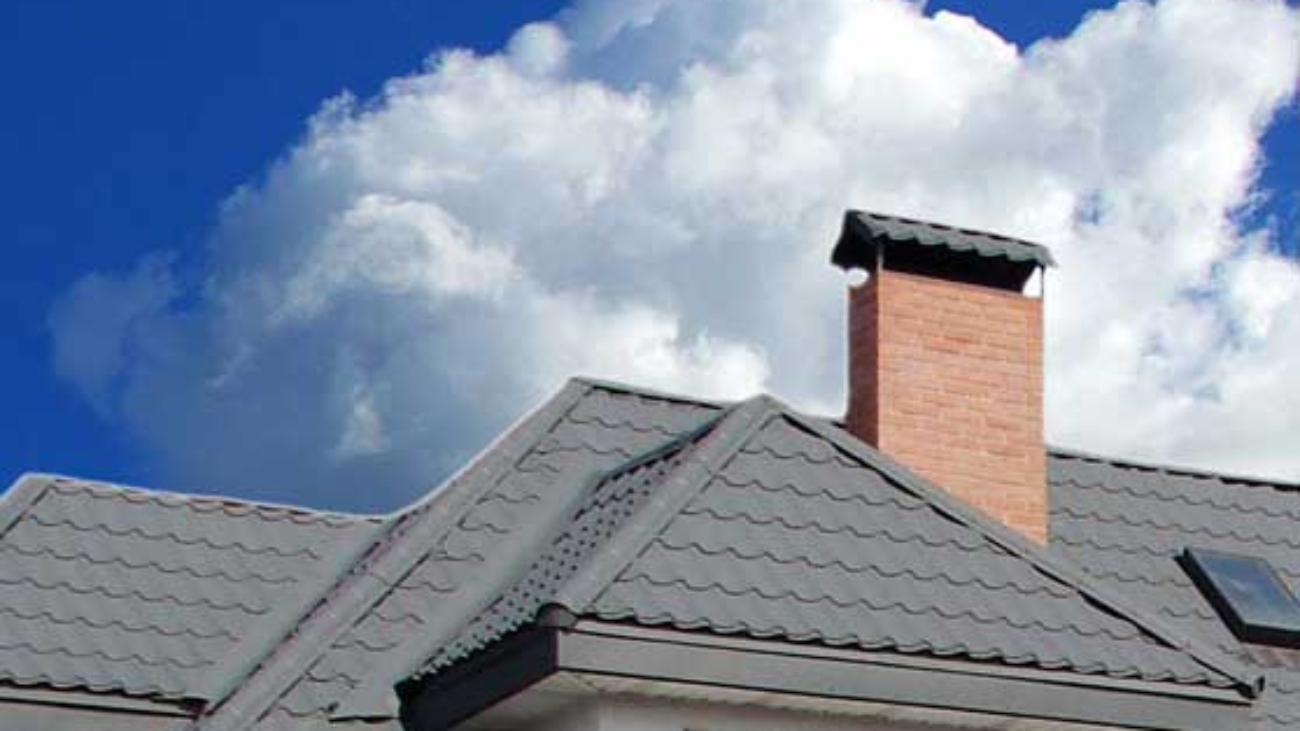
Metal roofing
Again metal roofs not very common in Vancouver. However, they are becoming increasingly viable, as metal shingles are low maintenance, lightweight and more environmentally friendly. However, installation can be tricky and requires a contractor with experience installing a metal roof.
As a metal roof starts to lose its shine, repainting is an option as long as the roof’s structural integrity is in good shape. It usually costs less to repaint a metal roof than to replace it.
Flat roof
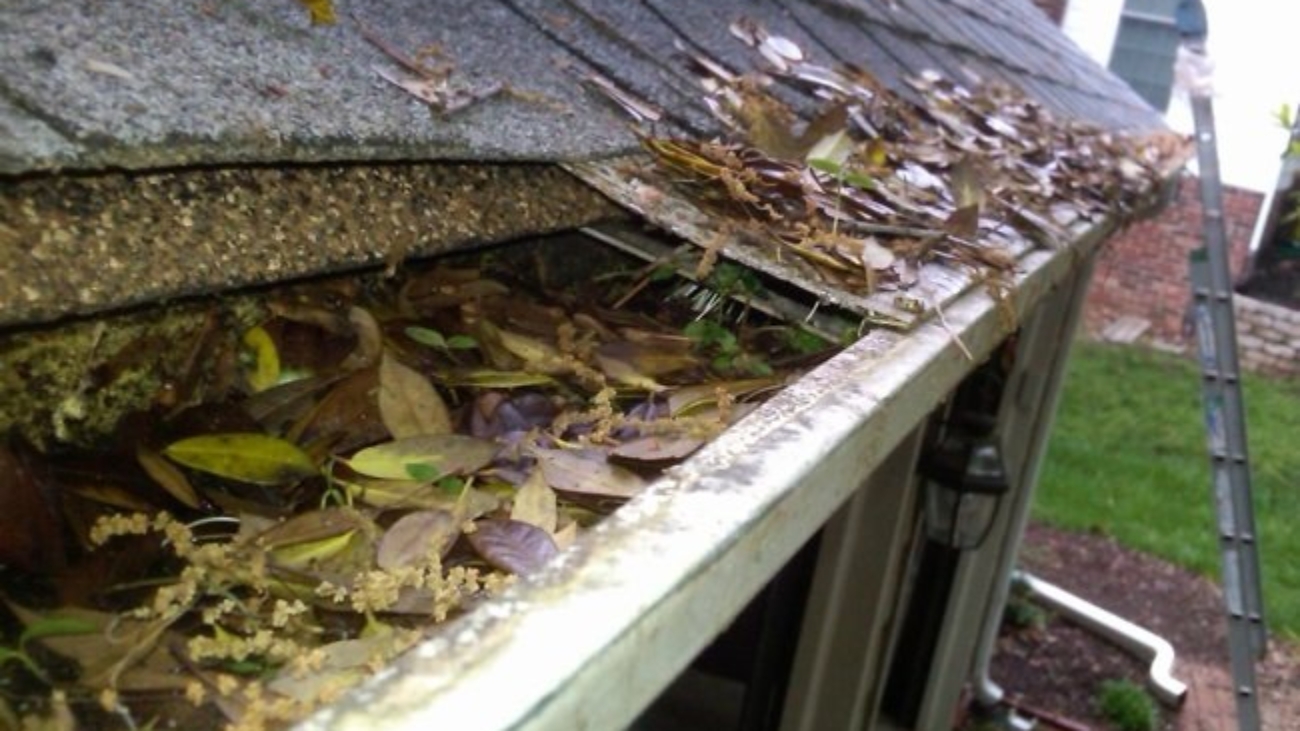
Flat roofs can require a great deal of maintenance. As the homeowner, you are responsible for ensuring it stays watertight. The roof must be cleaned regularly to prevent leaves and debris from clogging the drain. Also, the sun will gradually cause the roof to degrade, as flat roofs located in environments where the temperature can go from hot to cold in a short period of time are more vulnerable to damage.
Flat roofs are typically less expensive to install than sloped roofs. They may provide a safer option, as there is less chance of falling off when you are on top of a flat roof. They are usually easy to access and can allow you to achieve a certain visual appearance.
Torch On Roofs
Torch On Roofing consists of two or more layers of modified asphalt that are usually melted together by a torch. This creates a roof that is resistant to ultraviolet light and a waterproof barrier.
The Torch On Roofing is usually used for flat roofs where snow or rain can easily collect and sit for long periods of time. It covers the entire roof at an even thickness, usually about 3-4 mm thick, while traditional tar roofs can have bumps, thinner, and thicker spots.
The downside to a Torch On Roof is installation can be hazardous. It’s very easy to make a mistake while applying torch down materials to a roof. Materials can be accidentally overheated and cause a fire that can quickly spread throughout the dry, hot attic area.
The material used in applying a flat roof is technically known as ‘Bitumen’, but more commonly known as asphalt. Bitumen by itself is perfect for roofing, as it has good water proofing qualities; however, Torch applied roofing needs to have something added to it to stabilize its inability to expand and contract.
What type of Roofing is Right for me?
When choosing roofing materials, there are many things to consider. Does the material offer good performance in different weather conditions? Although Vancouver stays mild, it can occasionally get up to 30 degrees Celsius or dip below freezing. You need a roof that can withstand these temperature extremes.
You also need to consider the cost, maintenance, and lifespan of the roof. Some roofs are cheaper to install but cost more to maintain, while others vice versa.
Lastly, you should think of the best style for your house and the surrounding neighbourhood. The last thing you want to do is to install a roof that sticks out like a sore thumb. So, these are the types of roofing materials you Should consider while choosing roofing Materials. If you’re stuck on what roof is best for you, contact the experts at Cambie Roofing today!
Originally published on May 14th, 2017
Updated and republished on January 24th, 2024.