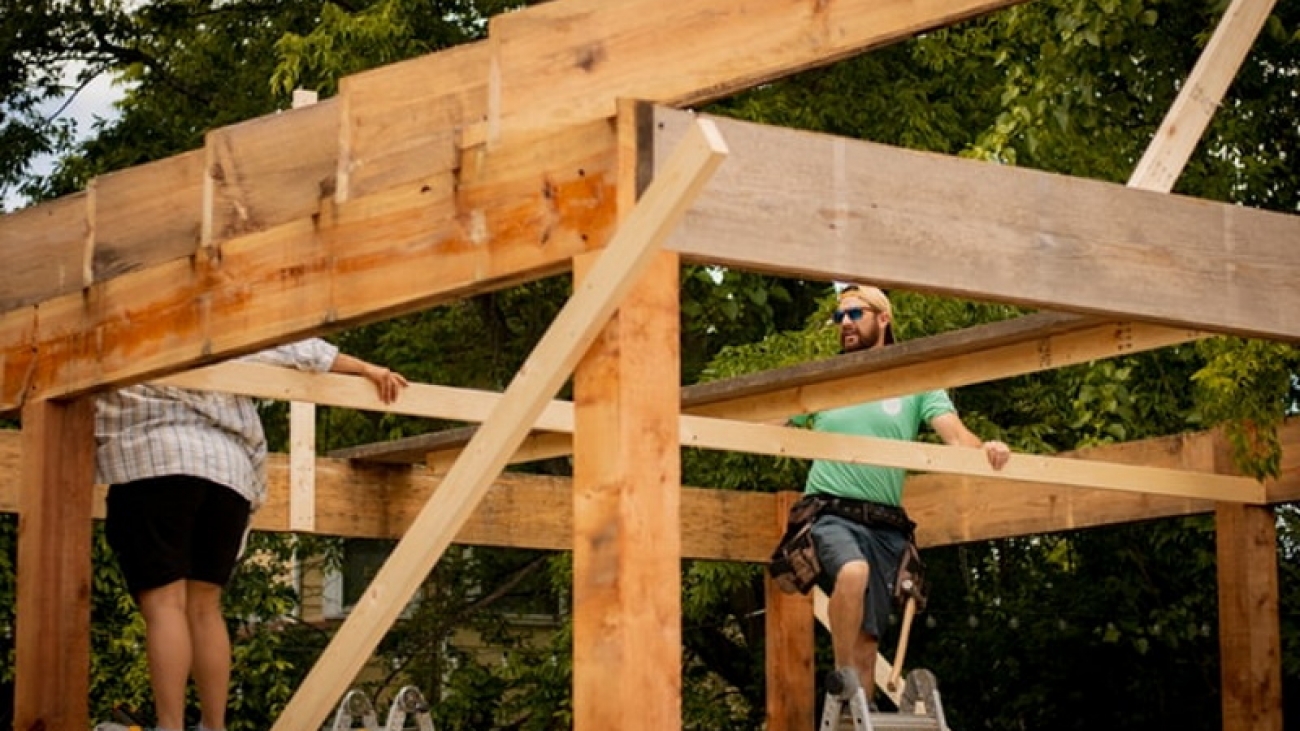

5 signs your roof needs repairing or replacement
Oftentimes we forget just how important the roof is over our heads. But just like everything else on the inside and outside of our homes, our roofs will eventually need repaired and/or replaced. Knowing the early signs of roof damage can save you thousands of dollars in the long run and it could mean the difference between a small repair and a total replacement. Getting into the habit of routinely checking your roof on the outside and inside is a good starting point. You’ll want to familiarize yourself with the early signs of damage so you’re prepared when and if something happens. To help, we’ve compiled a list of eight signs your roof may need repaired or replaced.
Cracked or curled shingles
Knowing what it looks like when your roof’s shingles are damaged is essential when questioning if your roof needs replaced. Asphalt shingles are the most common and they usually only last up to 20 years before needing replaced, but this isn’t a guarantee. If you live in an area with lots of rain, scorching temperatures, wind storms, heavy snowfalls and/or humid conditions, remember that your roof is always exposed to whatever mother nature brings its way. A shingle can become cracked or curled for a variety of reasons such as improper installation, extreme weather conditions or if it has surpassed its lifespan. A cracked or curled shingle is a sign that your roof needs some work. These damaged shingles are no longer laying flat against your roof which could lead to a variety of problems such as water exposure or an invitation to unwanted rodent visitors.
Moss
If you’ve noticed something green growing on your roof, be alarmed! Moss is a sign that your roof needs attention. Moss thrives in damp environments so if your roof is in a shaded area near trees and other vegetation and the climate is relatively moderate, your roof is constantly exposed to moisture. When moss spores are carried through the wind onto your roof, they will plant themselves between your shingles and will start to grow. Feeding off of rain, moss will become thick and spongy and will start to take over your shingles. This will cause the shingles to lift, inviting water into your roof. Moss that is left on a roof for a long period of time will not only decay your roof, but it can also lead to harmful mold. Depending on the amount of moss you find on your roof, contact a professional to assess the situation.
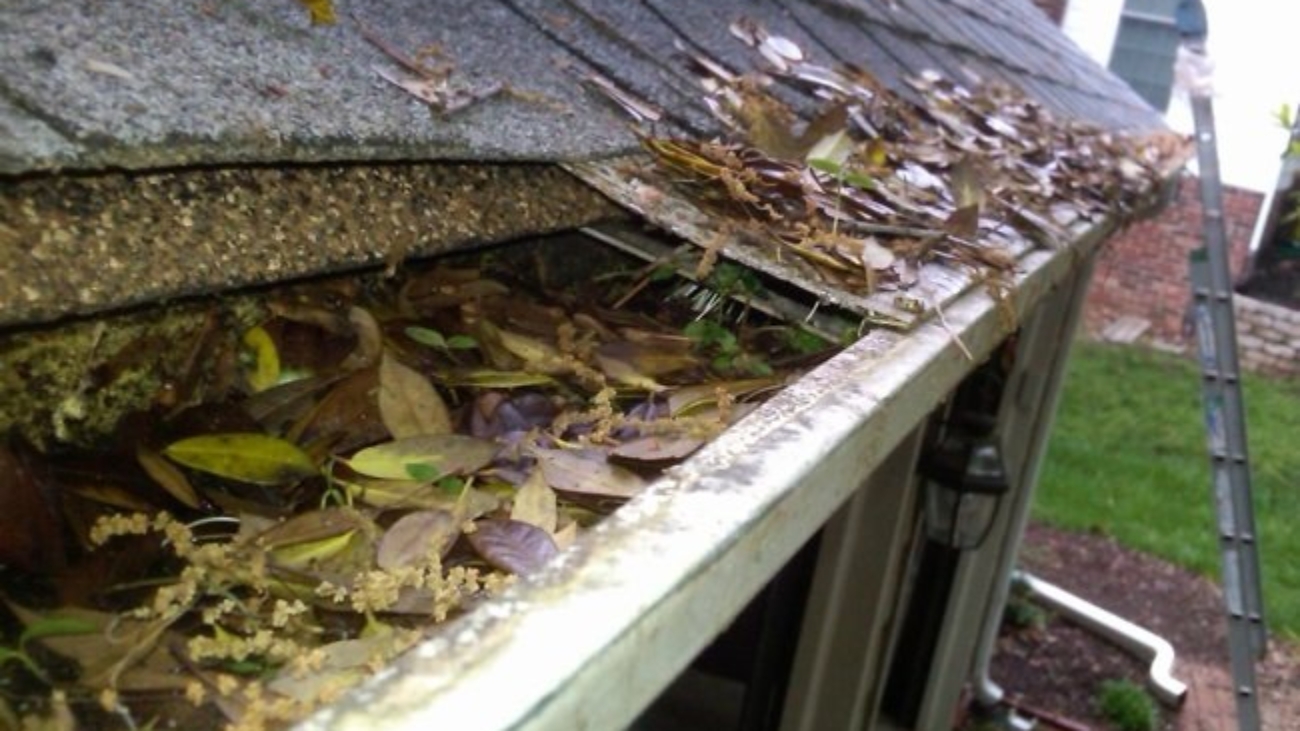
Shingle granules are deteriorating
Similar to when shingles curl and crack, if you notice the granules on your shingles are missing, this is a sign they are no longer effective in protecting your home. A good way to determine if your shingles are losing granules is to check your roof’s gutter and downspouts. Granules are tiny bits of rock which are attached to shingles to protect them from the elements. Over time it is normal for them to erode and fall off but how long it takes to do this depends on the quality of your shingles. If granule loss is noticeable, it’s time to reach out to a roofing company and get an evaluation.
Leaks
One of the most common and dreaded signs your roof needs some fixing is when it’s leaking. Whether its missing shingles, flashing problems or a clogged gutter, a roof leak can happen in many ways, causing lots of damage to your beloved home. Sometimes it can be very difficult to pinpoint where a leak is coming from. Be sure to check your attic regularly and inspect the outside of your roof. While there are many DIY fixes for roof leaks, getting a professional to examine the damage is always a smart choice.
Old age is creeping up
Just like anything in your home, your roof can become outdated and with that, it can bring serious problems. To prepare yourself, always keep a paper trail from the last time your roof was installed, replaced and/or serviced. Each style of roofing differs along with its quality and recommended lifespan. Knowing when your roof is due for an inspection can eliminate all problems associated with an aging roof. Preparing yourself for when the time comes to replace your roof will help alleviate any financial surprises.
Conclusion
If you’ve noticed a few problems with your roof, don’t jump to conclusions! A few cracked shingles doesn’t mean you need to spend thousands of dollars replacing your entire roof. A little bit of routine maintenance and double checking goes a long way when it comes to your home’s roof. Contact us at Cambie Roofing today if you have any questions or concerns and we will be happy to help you!