Here’s How Doing Regular Roof Maintenance Can Help You Save Money
Most people don’t think about roof maintenance. Whether in a residential or commercial setting, a roof is just another part of the building that simply exists without them even needing to think about it. It’s above them, silently doing its job; out of sight, out of mind.
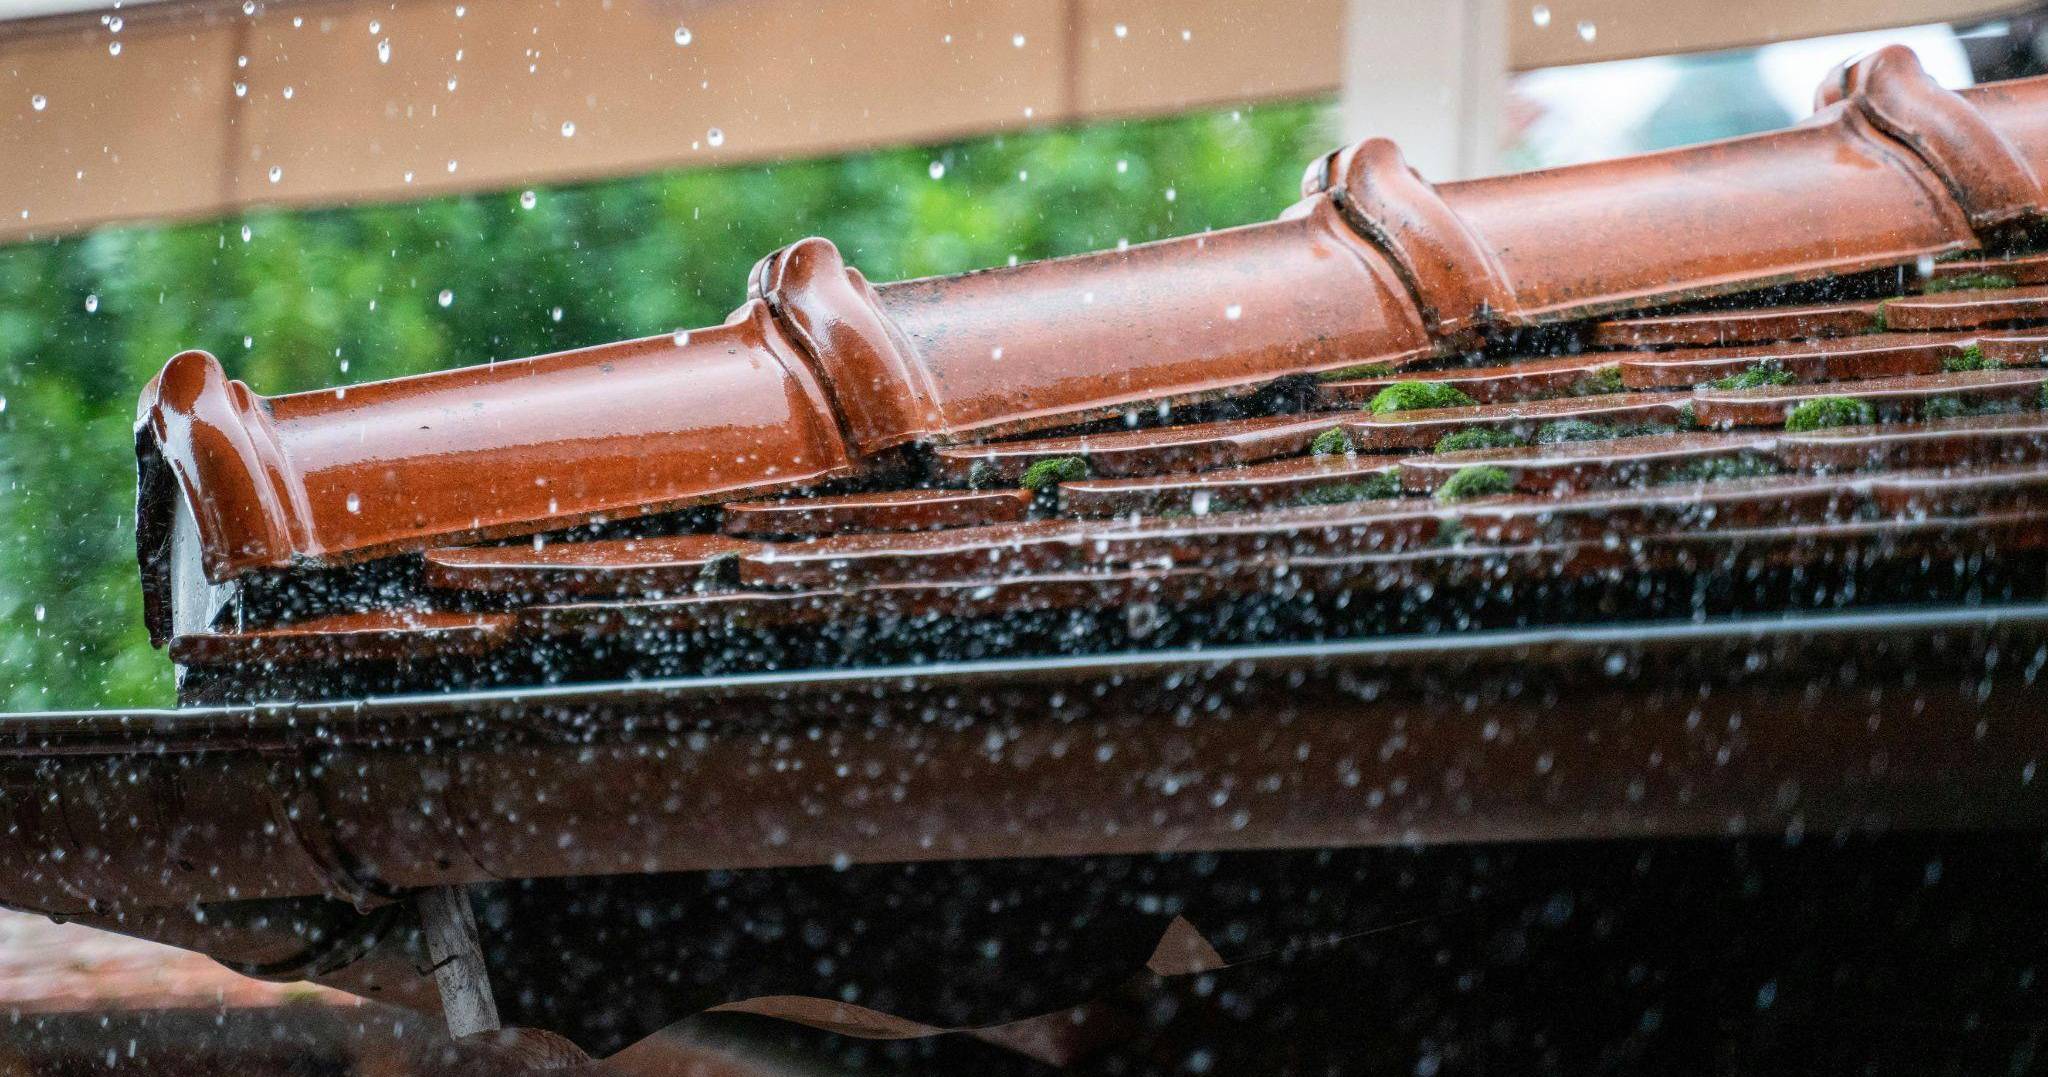
What they don’t realize is that even the most perfectly installed roof isn’t guaranteed for life – especially in rainy cities like Vancouver.
Maintaining the World Around Us
There’s almost nothing in the world that doesn’t require some degree of maintenance. Cars need oil changes and tune-ups. Bikes need chain oil and brake checks. Plants, gardens, and lawns need water, pruning, and weeding. If you think about it, even people need maintenance; doctor’s visits, optometry, and dental cleanings are all crucial elements of personal upkeep.
Roads need maintenance. Buildings need maintenance. Plumbing, sewer systems, computers, windows, trees, electronics, furniture – the list is neverending.
In other words: we’re surrounded by objects, possessions, and infrastructure – things that support our everyday lifestyle – that need a little upkeep. If it exists in a physical form, it likely requires some kind of periodic maintenance.
Your roof is no different.
Roof Maintenance in Vancouver
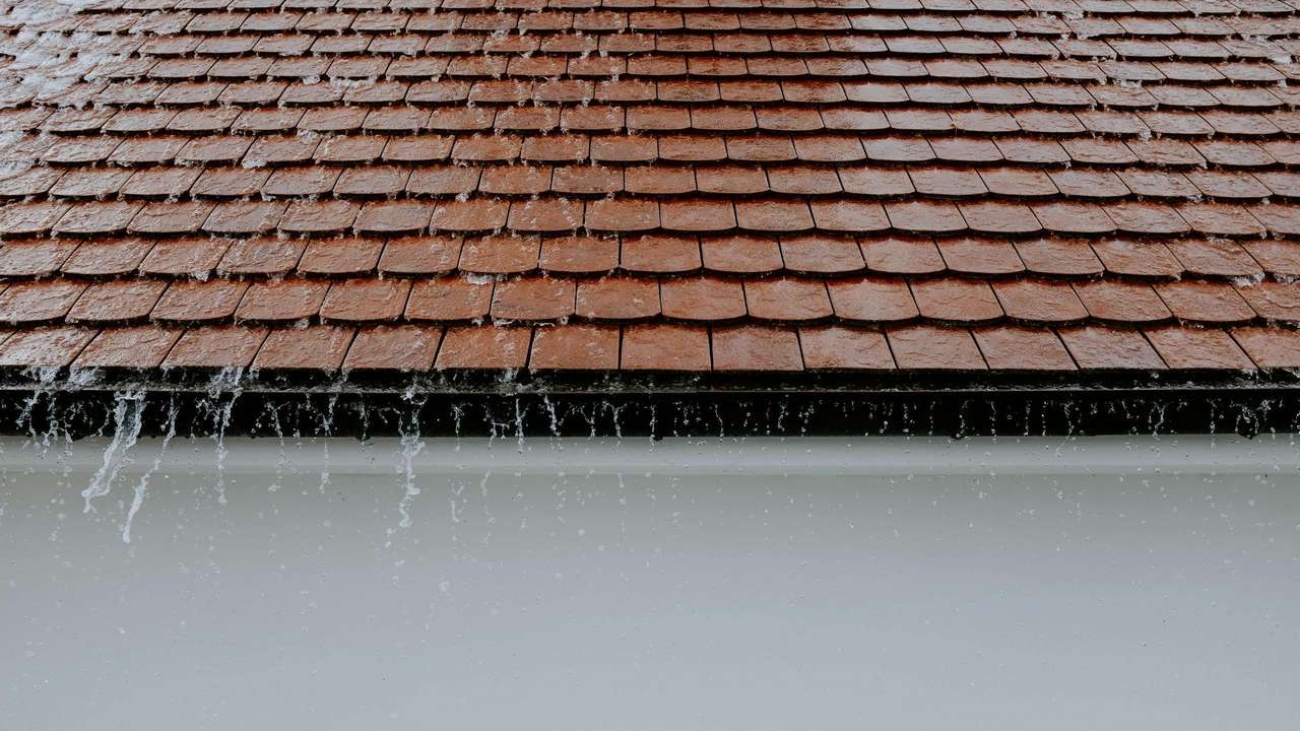
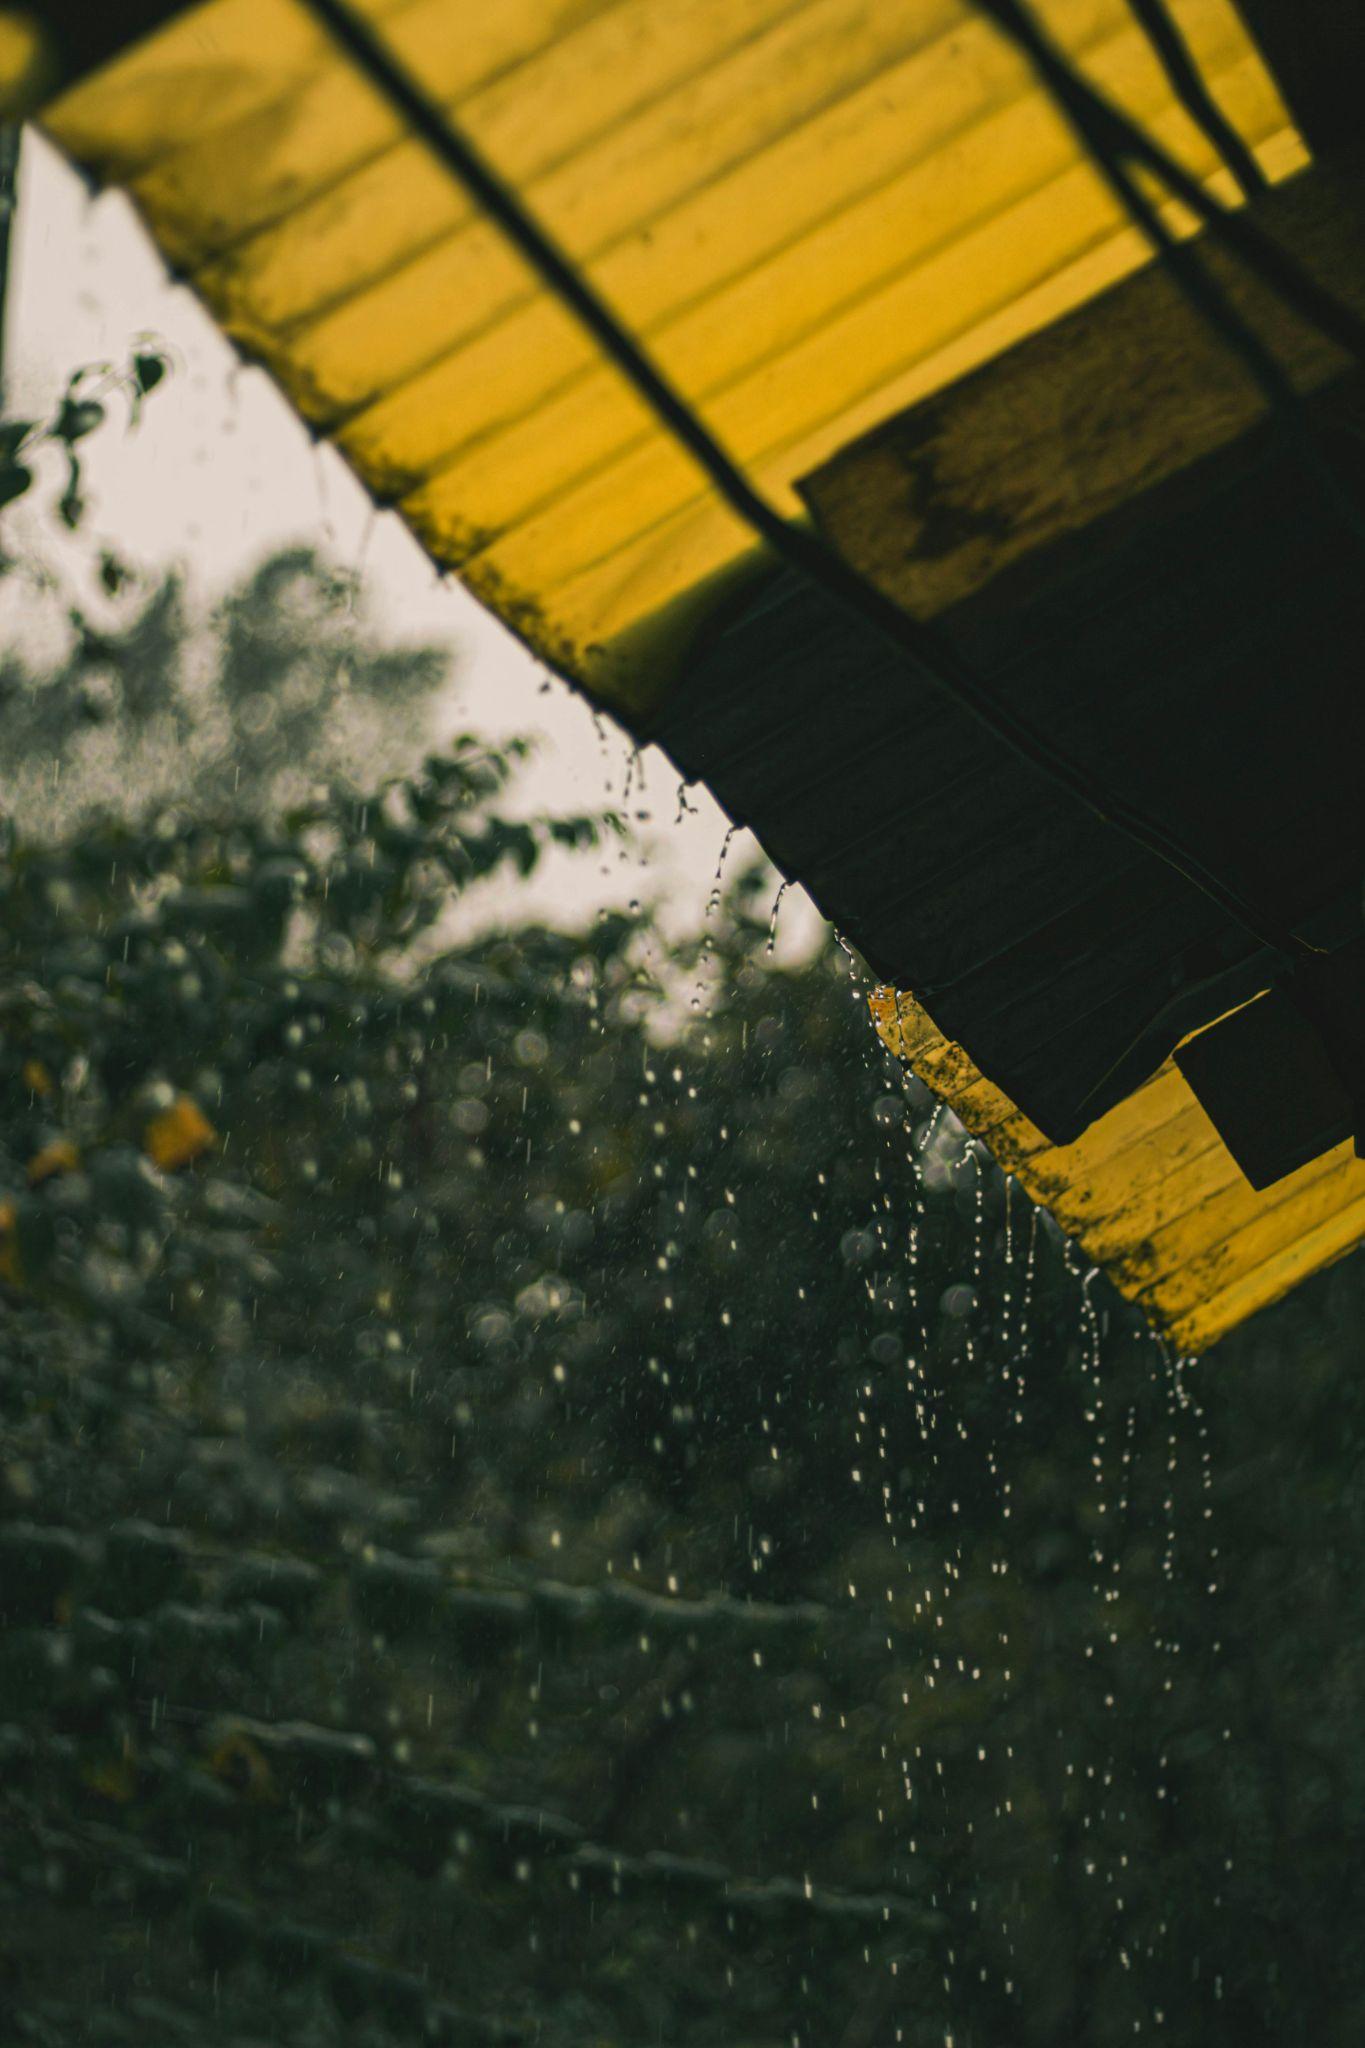
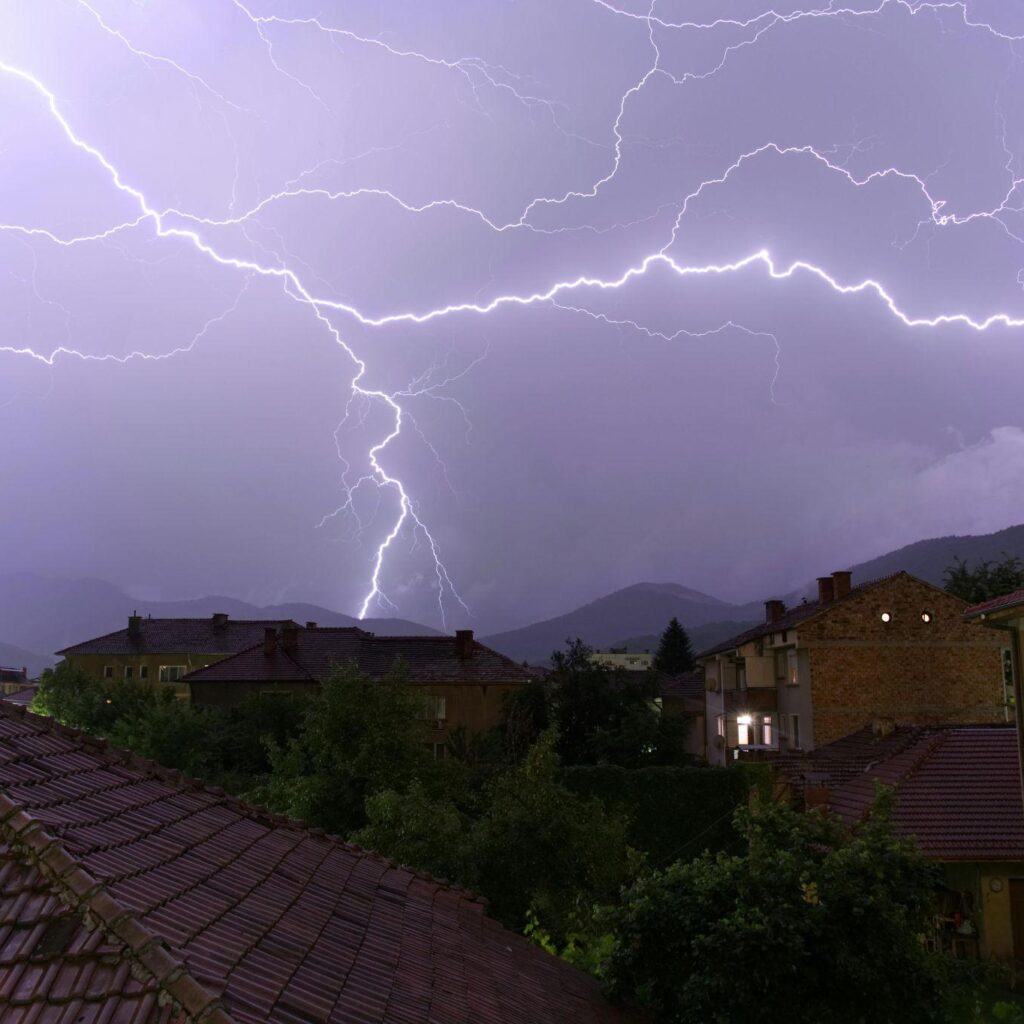
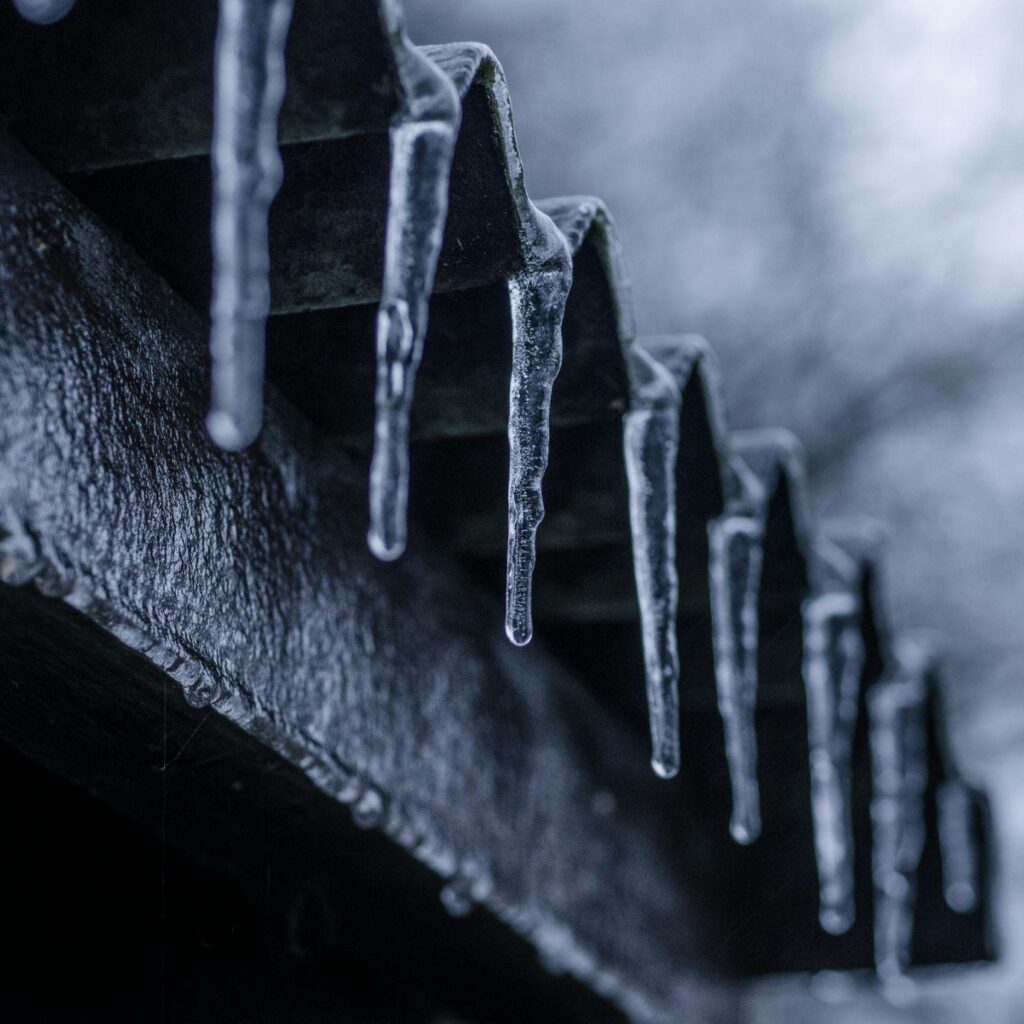
As a general rule of thumb, anything exposed to bad weather is likely to wear out pretty quickly. Here in Vancouver, we’re blessed with a relatively mild climate; however, the rain, wind, and snow that we face throughout the year make roofs very susceptible to wear and tear.
Moreover, Vancouver is a very green city; most of our streets are lined with tall, healthy deciduous trees that, while lovely to look at, drop thousands of leaves during the fall – many of which end up on our roofs, clogging gutters and drains and decaying into murky sludge – especially on flat roofs.
Consequently, roofs around here – on any type of building – often require a little more maintenance and cleanup than you might expect.
Why Roof Maintenance is Important
There are many, many reasons why roof maintenance is important, but the most compelling, convincing reason is very simple:
Roof maintenance saves you money in the long run.
To explain it simply: in terms of both time and money, the cost of fixing your home after your roof fails is astronomical compared to the cost of hiring someone to perform preventative maintenance.
Think of your roof like a suit of armour: even the most miniscule fault leaves you mortally vulnerable. If even a small amount of water gets into your home, it can ruin walls, floors, electronics, furniture, and more – and saddle you with massive repair bills. If you’re in a commercial setting and your roof fails, your entire business could potentially be ruined by the ensuing damage.
Here are a few other ways that roof maintenance can save you money:
Roof maintenance extends the life of your roof, meaning you’re less likely to need to replace the entire thing down the road, which is extremely costly.
A well-kept, insulated roof improves energy efficiency, keeping your heating bills lower.
A well-maintained roof helps maintain property value. It immediately suggests to potential buyers and realtors that the entire home has likely been well-cared for.
A well-maintained roof prevents pest infestations by sealing off entry points for birds, rodents, and insects.
What Can You Do?
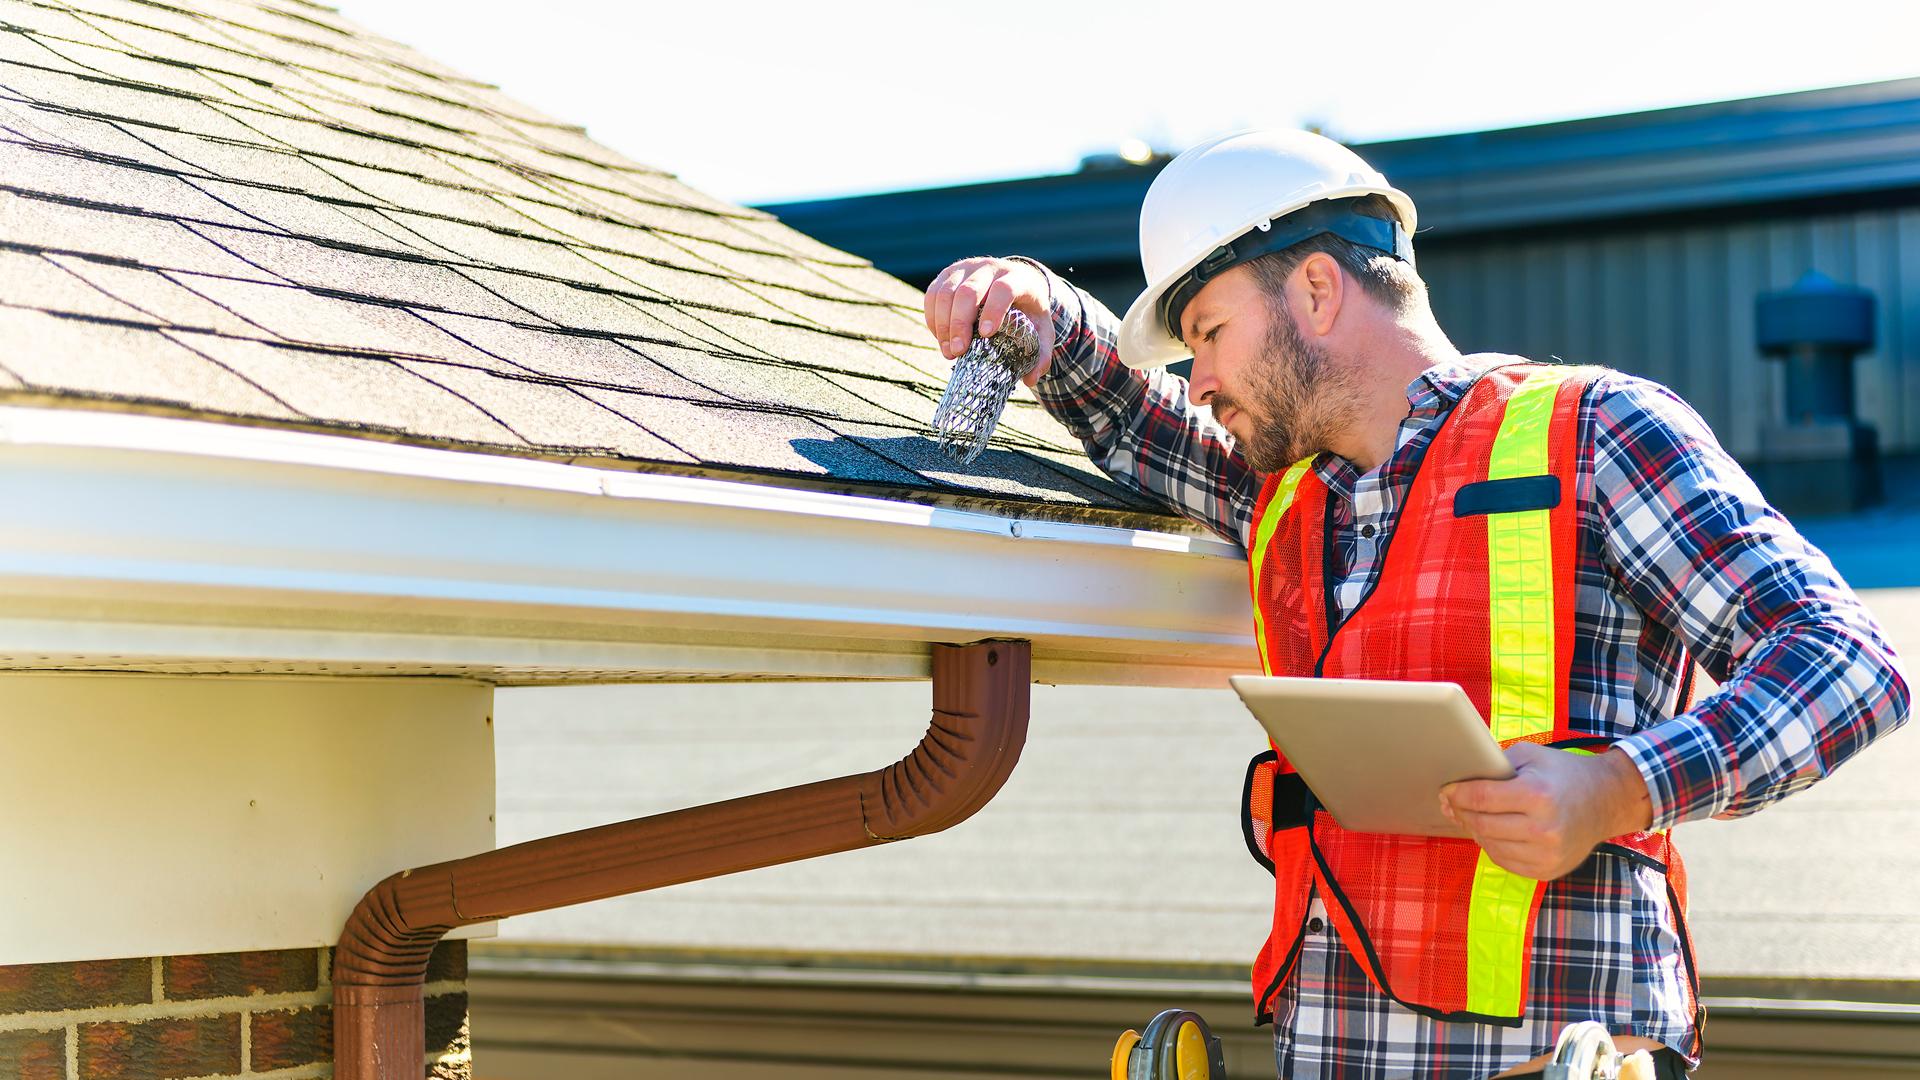
Remember, your roof is an asset; maintenance keeps it from becoming a liability. The best thing you can do as a commercial business owner or property owner is to perform regular roof inspections and cleanups, which should entail:
cleaning your gutters and downspouts
clearing debris and leaves
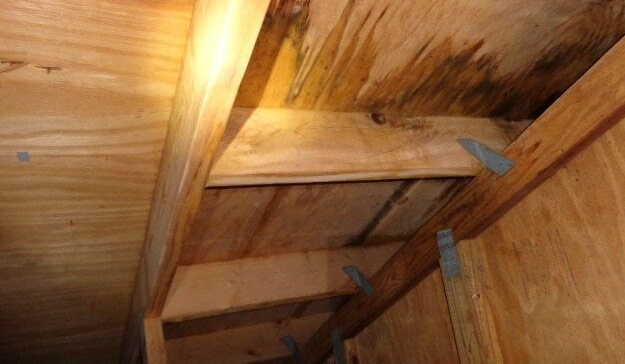
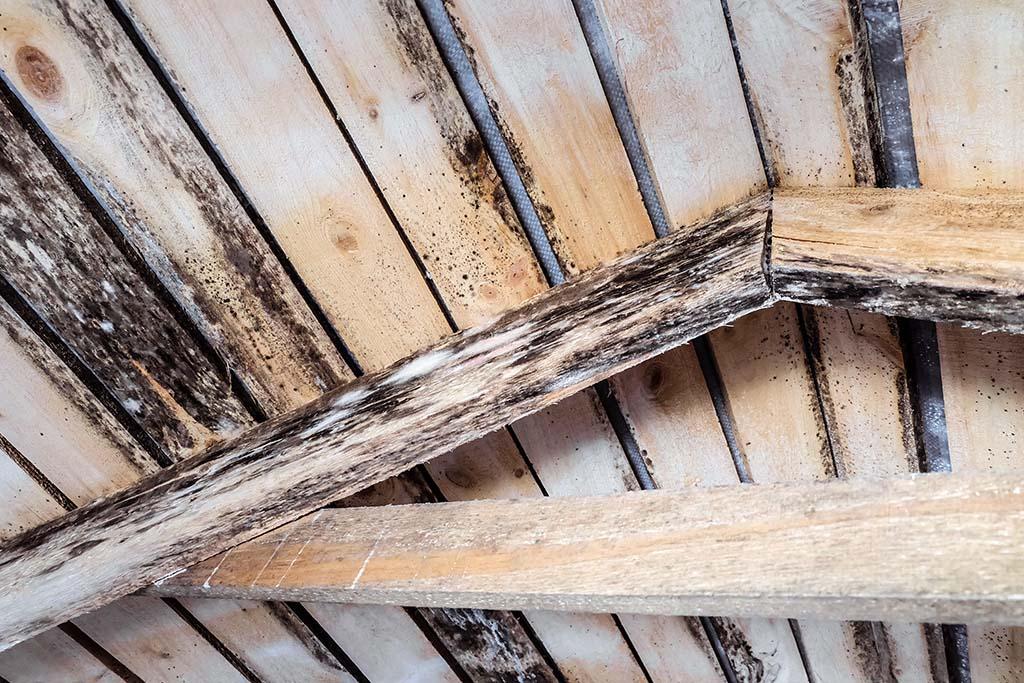
checking your attic for moisture, rot, or mold
If you own a commercial property, check out our post about protecting your commercial roof.
Inspecting your Roof: How to Spot Signs of Wear or Damage
You should inspect your roof every six months (minimum). Here are a few things to look out for:
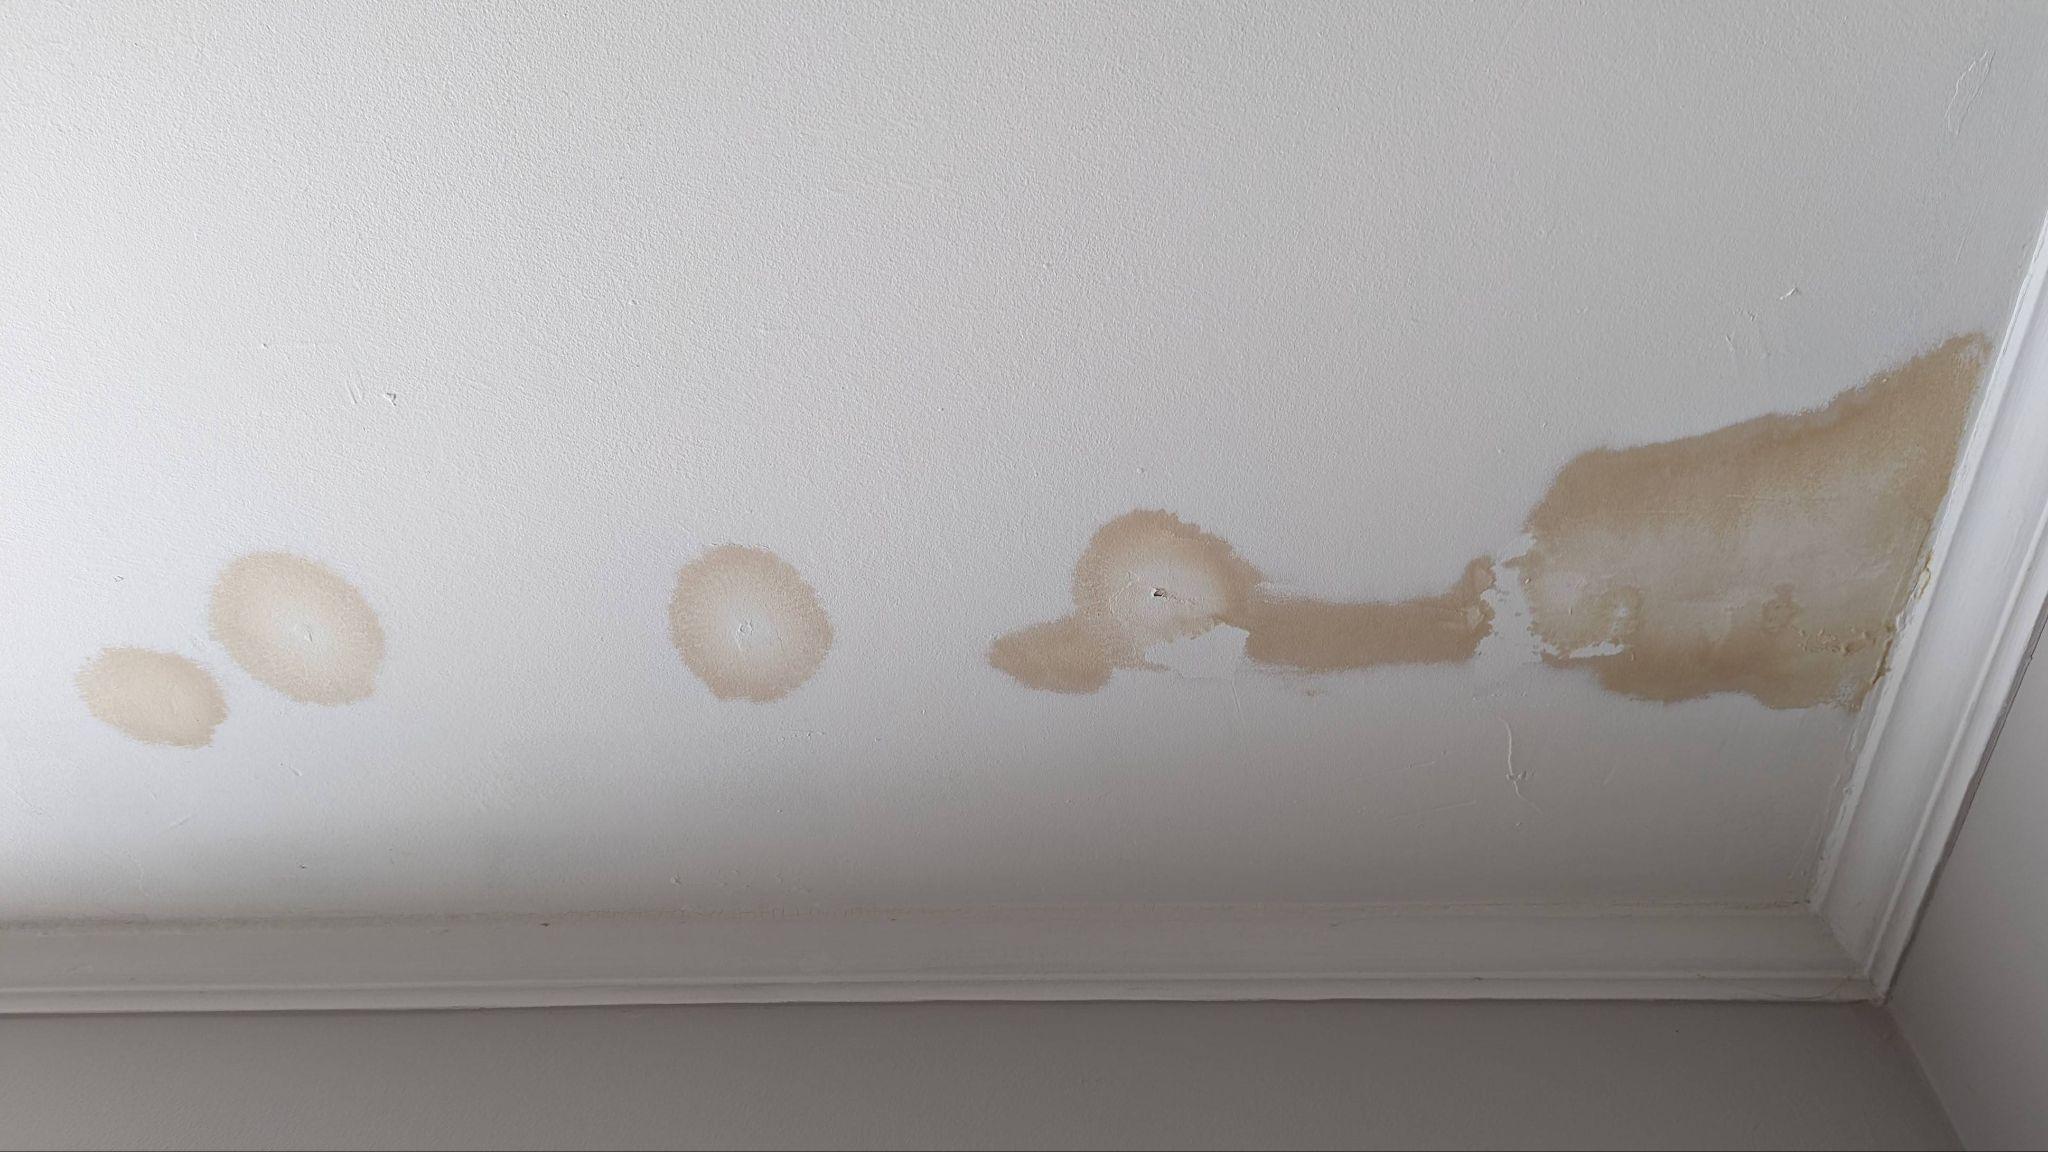
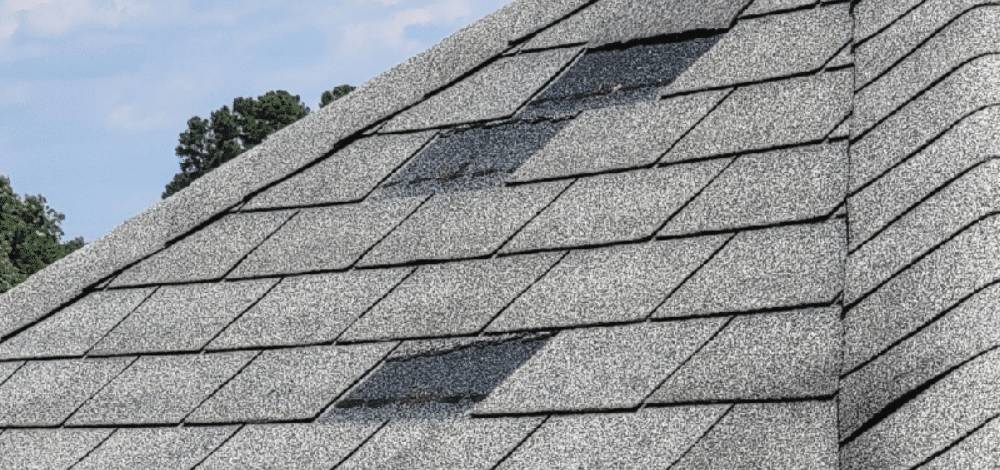
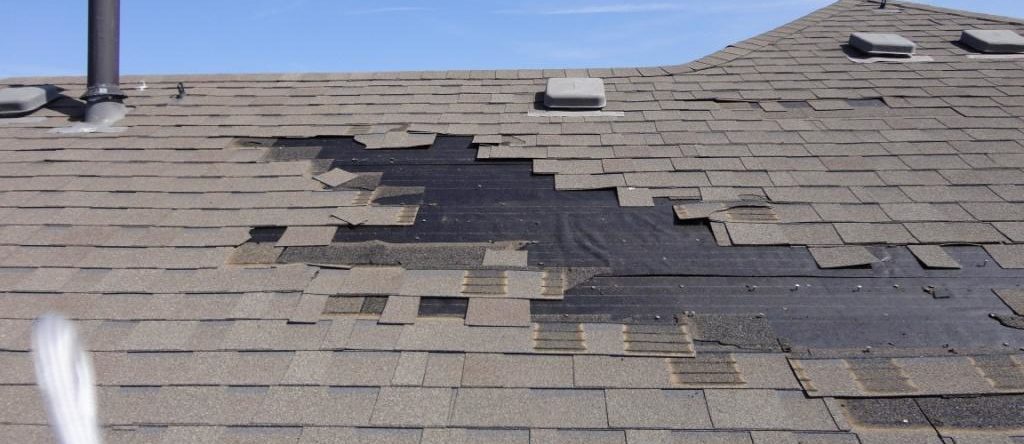
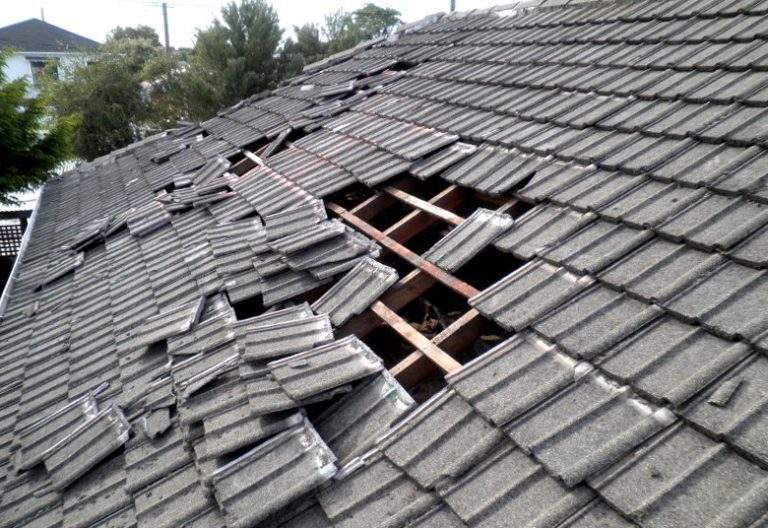
Shingles protect the wooden components of your roof from water damage. If the shingles are breaking, then it’s extremely likely that water is getting through.
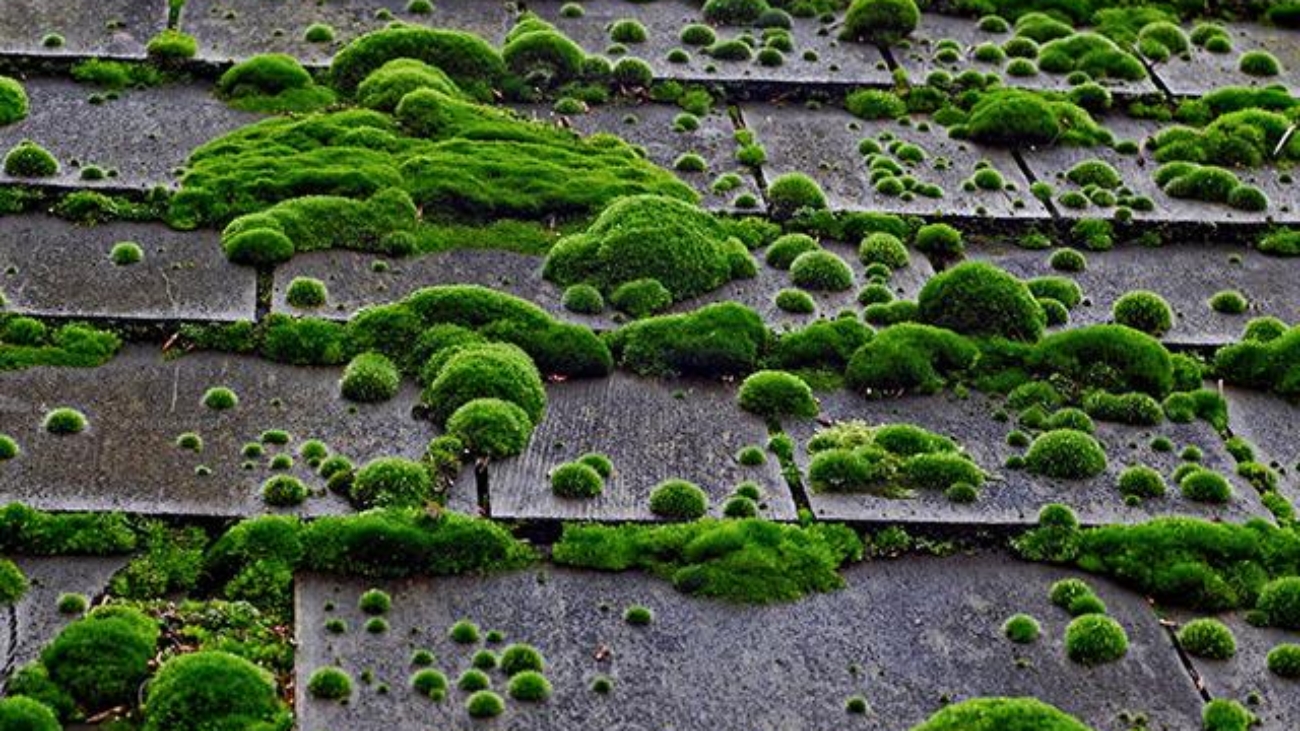
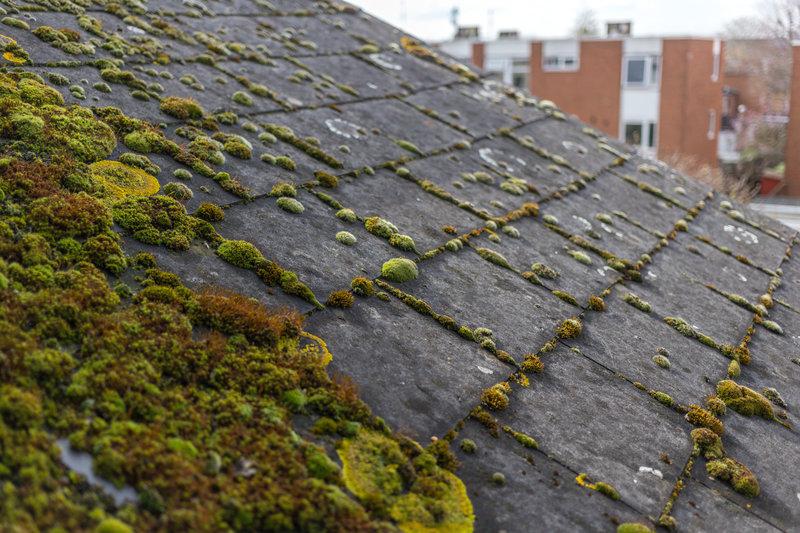
Moss, algae, and fungus only propagate in damp/moist environments. If you’re seeing signs of any of them, it’s likely that your roof is holding on to more moisture than it should be.
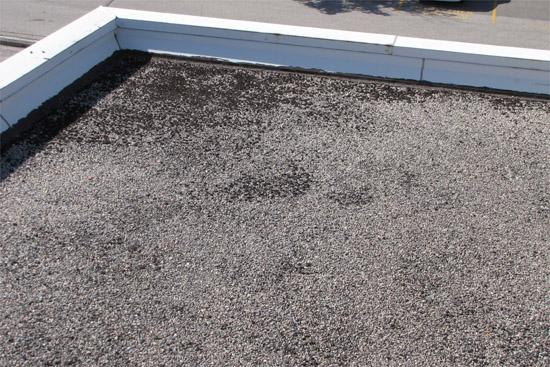
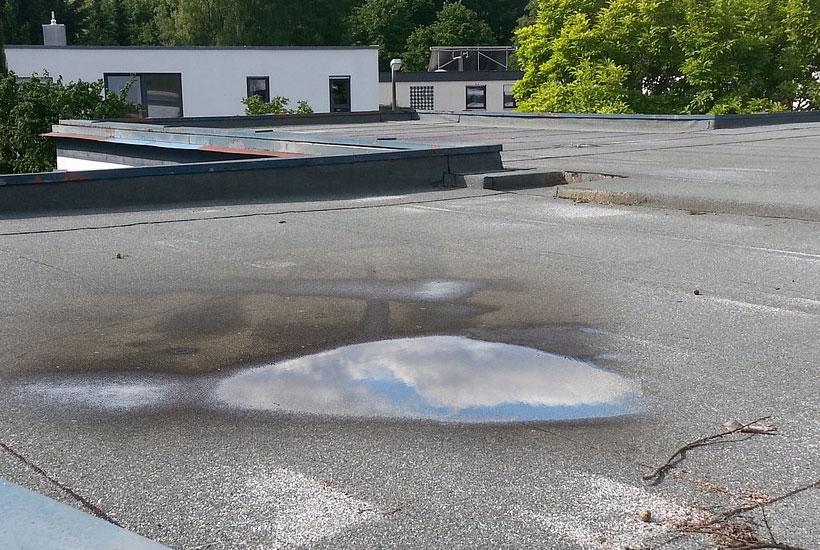
Whether your roof is flat or sloped, any sagging is very likely a sign that water is getting through – and has already done some damage. A well-installed roof should never have any sagging or puddles.
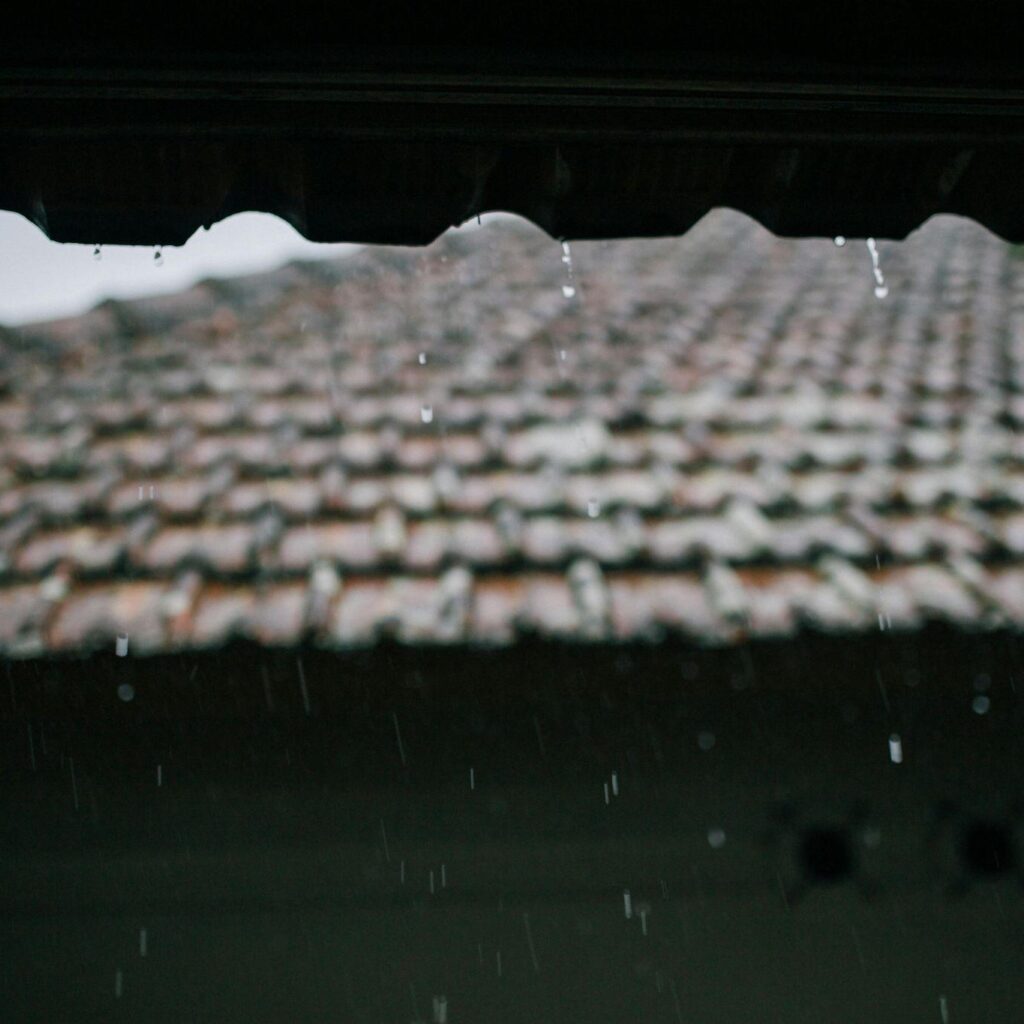
Leaks are an obvious sign that something is very wrong. Get any leaks fixed ASAP.
Are you in a commercial building or strata with a flat roof? It likely has built-in drains, and if those drains are clogged – by leaves, dirt, or debris – then the water on your roof will have nowhere to go. A big puddle of water on your roof isn’t only a leaking hazard – it’s a structural hazard.
A clogged gutter can cause water to back up and sit where it shouldn’t.
An unexpected increase in heating or cooling bills could be due to air escaping through your roof. Adequate insulation and a properly sealed roof help maintain your home’s energy efficiency.
It’s also extremely important to be aware of the age of your roof. If your roof is more than 5 years old and hasn’t been inspected or repaired recently, consider getting an inspection asap.
How Can We Help?
Your roof is the barrier between you and nature’s harshest elements.
If you’re a homeowner, property owner, property manager, or business owner, you likely already know how much work it is to keep everything pristine, so something like your roof – which may look fine, at a glance – might end up on the back burner.
But even if it seems like your roof is probably in good shape, it’s important to remember that the smallest damage to your roof – whether your roof is flat, sloped, shingled, torch-on, or otherwise – can cause massive, expensive problems down below. The cost of maintenance simply doesn’t compare.
If you’re interested in getting repairs done – or if you’d like an inspection for peace of mind – consider getting in touch. With over 75 years in business, we’d like to think we know a thing or two about protecting, repairing, and maintaining roofs. We’d love to hear from you!