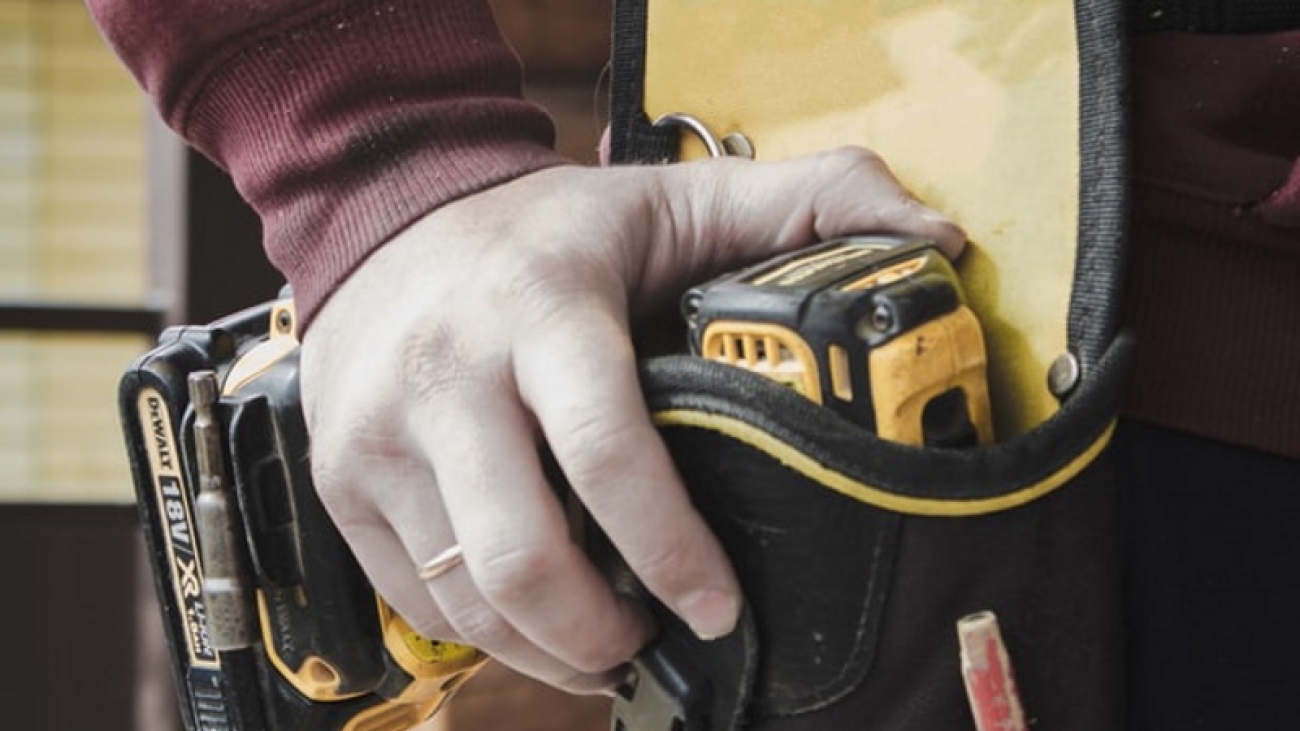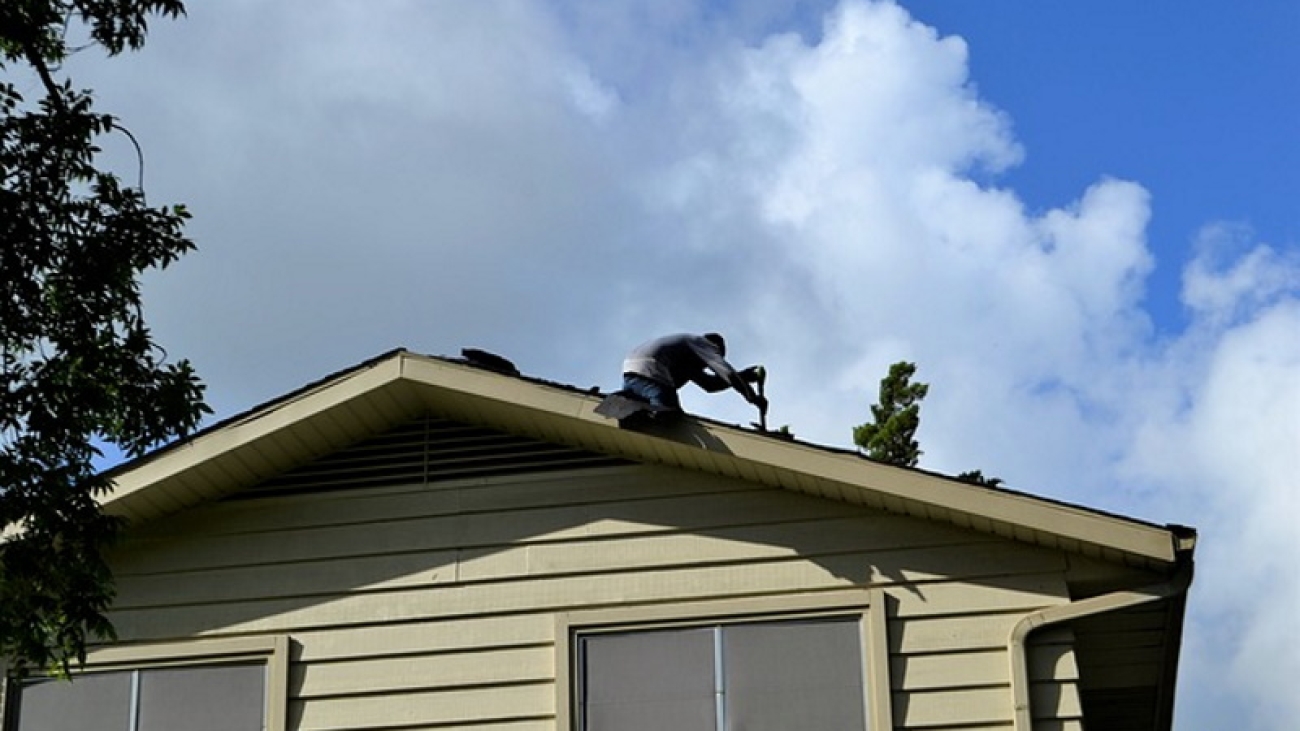
As another damp Vancouver winter is coming to a close, now is the perfect time to tackle those overdue home improvement projects. If your roof is aging, you might want to consider repair or replacement as a must.
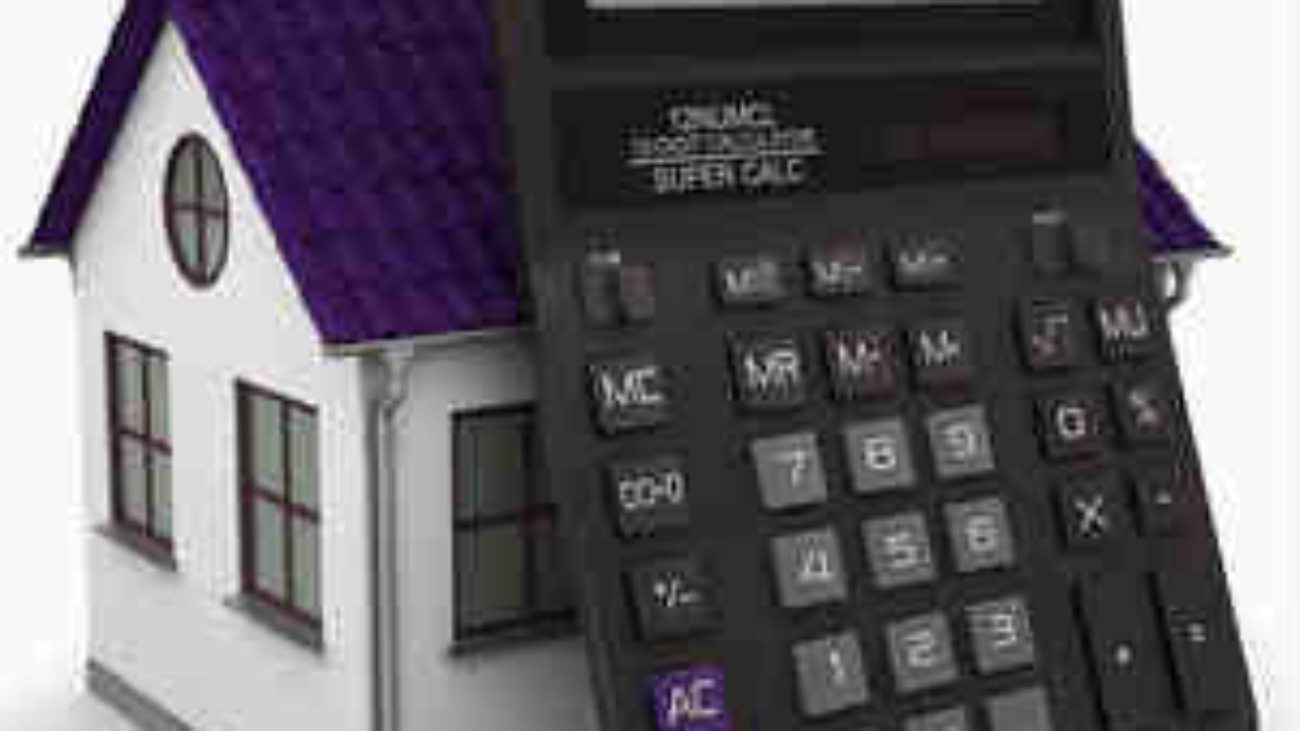
The care you put into your roof ensures that your home remains well-protected, and a smaller investment now prevents even more costly home repairs later. It also increases the value of your resale value when you move.
Depending on who you ask, you will get a different answer when it comes to the best roofing material. A group of production builders will likely say asphalt because they are concerned with function and what looks good. A residential architect might tell you metal because they are interested in what is aesthetically pleasing, but doesn’t necessarily consider cost. So, let’s find out more about Shingle Roofing VS Metal Roofing.
As for a homeowner, they will most likely tell you the material they have, be it metal, asphalt, slate or concrete. Homeowners are more concerned with price than the material. As long as it does its job and the roof functions correctly for a decent time, the actual material matters little to them.
At Cambie Roofing we can see the benefits of both metal and shingle so we’ll let you decide (Shingle Roofing VS Metal Roofing) on what is right for your building. Both materials offer a variety of looks and styles, and for the most part, money and quality will depend significantly on the product line you go with.
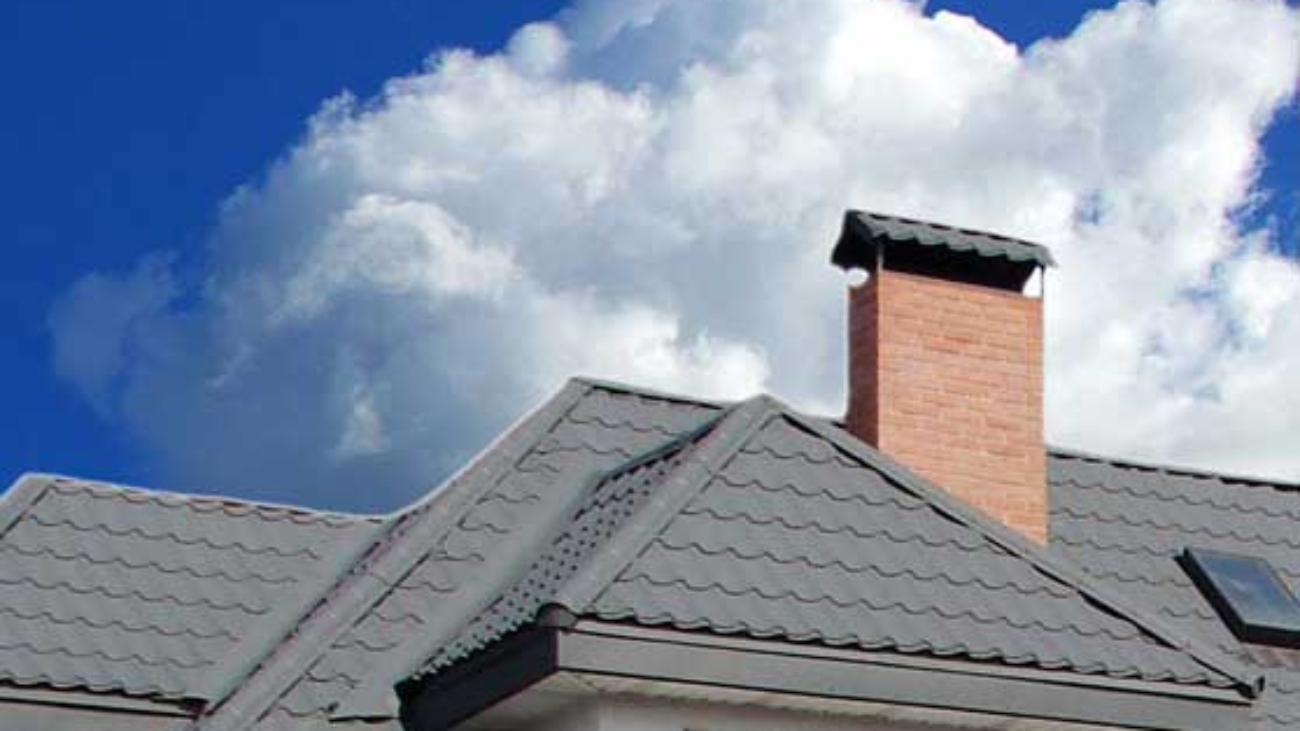
Shingle Roofing VS Metal Roofing
Why You Should Consider Asphalt Shingles
The biggest advantage of asphalt shingles is that they are by far the cheapest roofing material in the market. Affordability is the principal reason why it is the top choice of homeowners. For a very modest cost, homeowners can expect their homes to be decently protected for a span of 12-18 years. The most economical option is the 3-tab shingle that can resist wind speeds of up to 60-70 mph. And provide very good value for money with a limited warranty of 20 years being common.
For those not averse to spending a little more, a good choice for roof replacement is the architectural shingles. These shingles not only last longer than the 3-tab ones but also can stand up to winds gusting to 110 – 130mph.
With a warranty of 30-50 years given by the manufacturer, these shingles can cost double that of the cost of 3-tab shingles. As the name suggest, premium shingles are distinctive due to their appearance. Irrespective of the type you choose, you can get a very wide variety of colours and patterns. That enable you to create a very attractive and unique look for your house.
Disadvantages of Asphalt Shingles
As may be expected with something that does not cost a great deal. There are some disadvantages of asphalt shingles that need to be factored in by homeowners. Some of the top ones being that they can get damaged when installing at very low or freezing temperatures and also they are not very resistant to temperature fluctuations due to which the shingles tend to crack as a consequence of repeated expansion and contraction. Asphalt shingles are also not stable in high-temperature conditions and may lose colour and fade. Wind uplift may cause damage especially when cheaper grades of asphalt shingles have been used. Environmental friendliness does not something that asphalt shingles score very high on because the manufacturing process is energy intensive and the product in non-recyclable.
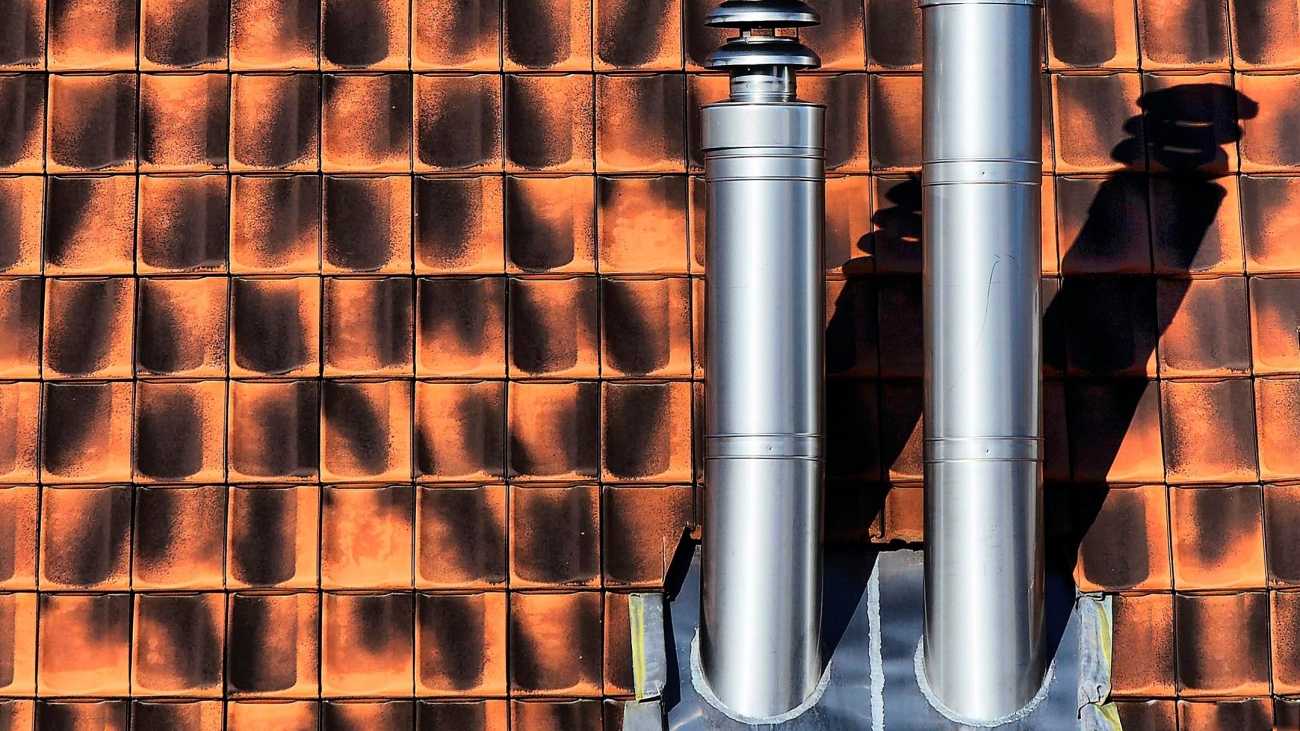
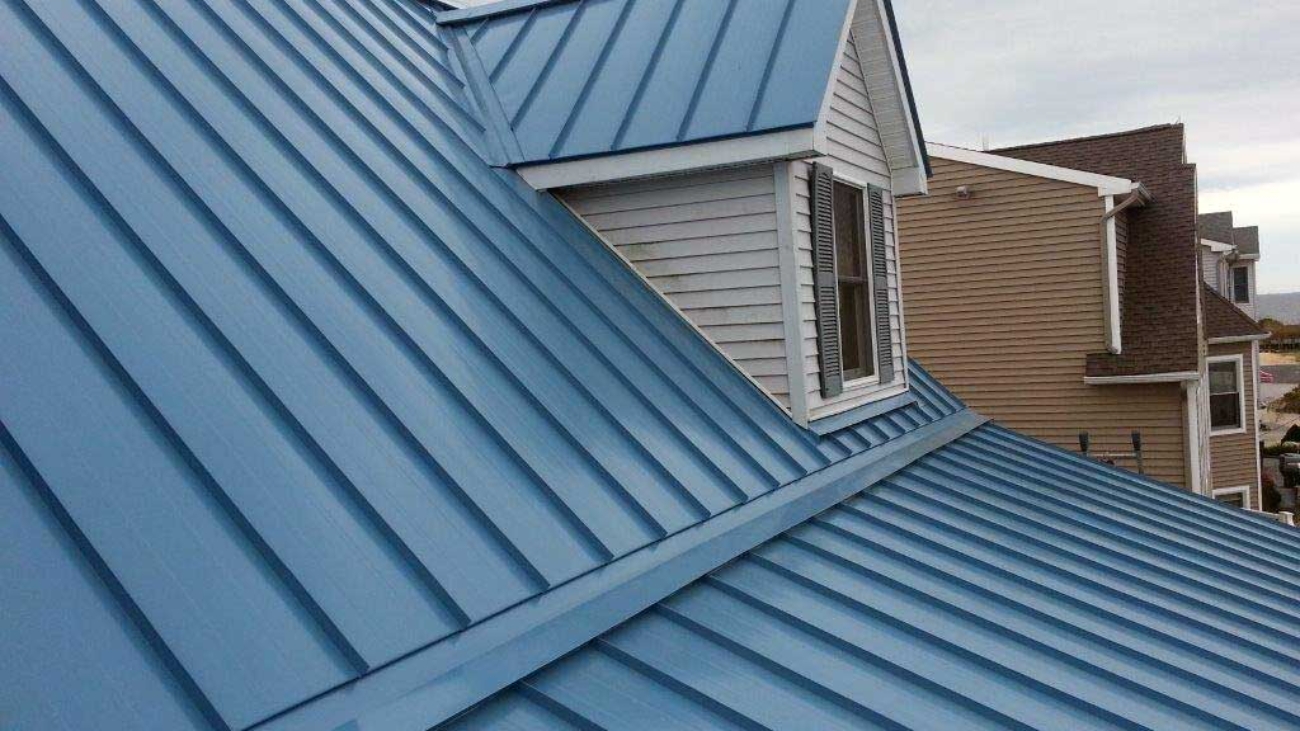
Advantages of Metal Roofing
Adding a metal roof is considered an upgrade that will not need replacement. This makes it very attractive to new buyers since it is one less thing for them to worry about. Most metal roofs come with an extended warranty of 35 to 50 years.
Metal roofing is also one of the most energy-efficient types available, providing 60% or more reflective power than shingles. Not only will your house stay more cooling, but the product is recyclable.
Metal is the lightest material you can select for a roof. Even though the weight does vary across materials, they are up to 40% lighter than shingles.
Metal roofing delivers weather resistance and durability. The average metal roof will last around 70 years, but with care and maintenance, they have been rumored to last close to 100 years. Metal roofing does not have the same susceptibility as shingles do when it comes to ventilation. You certainly need to have working ventilation for your attic, but the steel is not as heavily impacted as asphalt shingles are.
Disadvantages of Metal Roofing
If you choose a metal roof, you will likely spend two or even three times as much as you would on a shingle roof. You are looking at $6 to $18 per square foot, even though the price has come down a little in recent years. Be prepared to pay even more for zinc, stainless steel or copper roofing.
Installation will require a professional roofing contractor because metal roofs are difficult and tedious to work with. It takes more time for the roof installation when using metal materials. The complication and additional time required contributes to the higher pricing.
Metal is known for expanding and contracting over time, and when it comes to roofing, this can compromise long-term performance. This can be avoided with proper installation.
Winter months cause ice sheets on metal roofs, and when this slide down, you better make sure nothing is in the way. Cars have been crushed and hot tubs shattered. For protection, metal roofs often come with ice guards and railings that are very unsightly. While they are necessary, it takes away from the modern, streamlined look you may have been going for.
So What is Better? Metal or Asphalt?
Metal roofing has a much longer lifespan than traditional asphalt shingles. Yet asphalt remains as the most popular selection among homeowners. Why is this? Asphalt is a familiar product for builders and contractors, and its popularity comes from both the lower cost and easy installation. In Vancouver, the style leans towards asphalt because many home owners believe it’s important to blend into the neighbourhood.
Metal is definitely a more expensive product, and metal roofing installation requires a more advanced level of expertise. Many roofers are not qualified to properly install metal roofing, requiring homeowners to seek our metal roofing companies. Consequently, when homeowners are researching roofing options, they are often swayed toward the cheaper option under the impression that it will provide an acceptable end result.
Clearly, the longer lifespan and increased durability offer key benefits. And the improved aesthetics of a metal roof greatly boost your home’s curb appeal. Metal roofing can stand up to the extreme weather wand it is recognized for being energy efficient and environmentally friendly. However, a more immediately tangible result of a new metal roof is that it will help increase your home’s value. If you anticipate selling your home within the next few years, a metal roof will help attract buyers. And set your property apart from the competition.
If you want either roof – or just need an inspection give us a call at Cambie Roofing. We offer great quality and a reasonable price.