It’s not easy hiring a roofing contractor for the first time. You’re here because you need help for a repair or replacement project, but you’re clueless on where (or how) to begin your search. Unsurprisingly, many homeowners abandon the plan of a roofing project simply because searching, vetting, and choosing a roofer is way too much of a burden.
Hiring A Roofing Contractor Checklist
Hiring a roofer doesn’t have to be that hard if you know what you’re doing, including the questions to ask and the red flags. If you continue reading this post, you’ll realize that it’s relatively uncomplicated after all. We’ve put together a checklist to explain every element of the search and hiring process.
Work with a Contractor You Trust
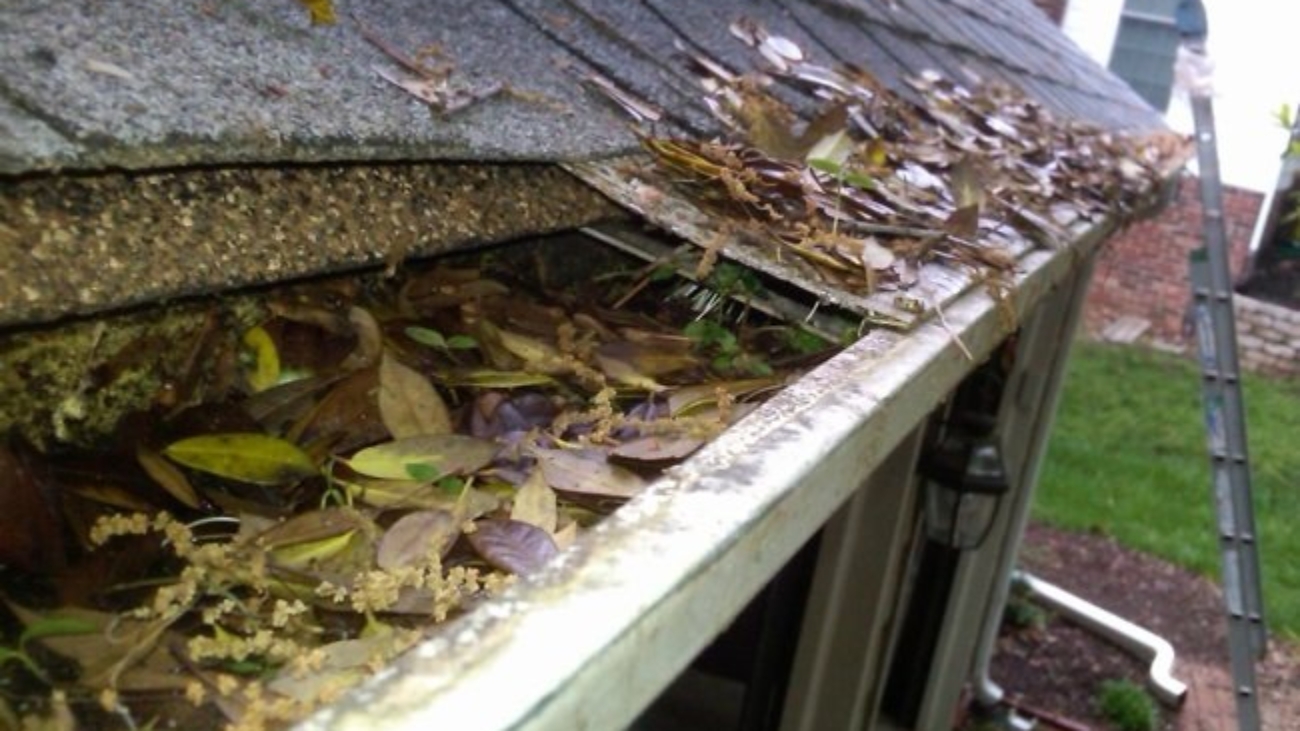
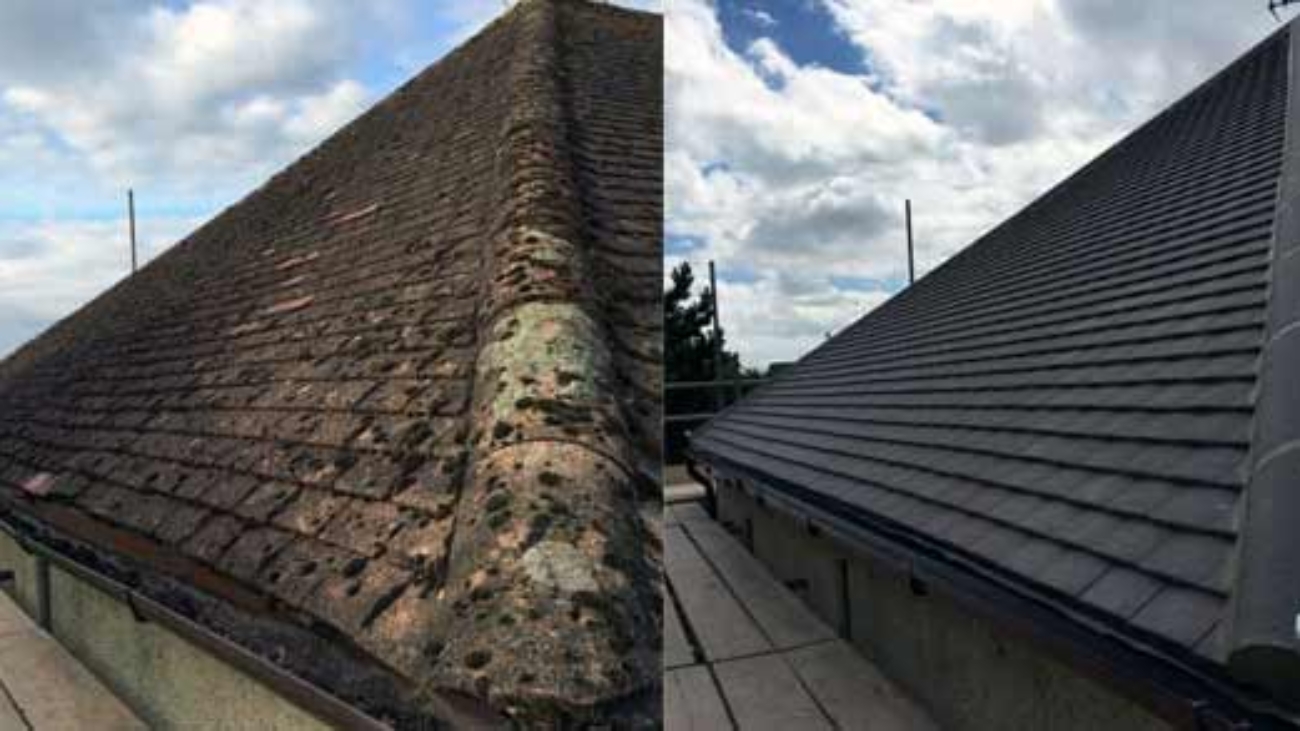
Roof repair is unlike any other home renovation job. Once you figure out that there’s something wrong, hiring a local roofer is no longer just an option. To restore the roof’s structural integrity, you’ll have to cover the repair or replacement as soon as possible. The first step is to find a trustworthy roofing contractor. Here’s what you have to do:
- Ask your family, friends, coworkers, and neighbors for recommendations.
- Call or visit the local organization of roofers for referrals.
- Search for prospects online.
- Find prospects via local newspaper and TV ads.
Assess Your Prospects
Not every roofer is a fit. If possible, avoid hiring someone who’s not based locally. You want a quick turnaround and response in case something goes wrong after the completion of the job. Working with a company headquartered outside of the city could prove difficult because of the distance.
To figure out which among your prospects is the best fit for the roof repair or replacement project, follow these steps:
- Request individual quotes from at least four local roofers. Focus on those who are willing to visit your home to see the site. Some roofers hand out an estimate without an inspection.
- Visit the website (provided there’s one) of each roofing prospect. Favor those with an established online presence and with multiple positive reviews from previous clients.
- Read all reviews, especially negative feedback. Figure out if there’s a pattern of bad practice from the roofer. If you notice a trend, remove that prospect from your list.
Questions to Ask
Narrow down your list to two or three local roofers. Request a phone interview and ask these questions:
- How long have you been in the roofing business?
- What is your experience in a similar roofing job?
- Can you give me a list of references?
- Can you furnish a copy of your liability insurance? Does it cover property damage and worker’s compensation?
You’ll have a much better understanding of each prospect based on how they answer those questions. One of them will likely stand out.
In-Person Interview
You have all your questions answered on the phone, so why go the extra mile for an in-person interview? You must personally meet the remaining prospects to review all the roofing job details; it’s also your best opportunity to temper expectations. If possible, come up with a spreadsheet to help you compare each contractor’s pitch. Discuss the technical details, including:
- Get some more details on the insurance, i.e., policy number and limits.
- Talk about the warranty details and the person responsible for the claim.
- See to it that you agree to a fixed price and that it must be included in the contract.
Red Flags when hiring roofing contractors
As honest as your intentions are, some roofers will rip you off, while others engage in bad practice. Be wary of door-to-door contractors who go to areas devastated by storms and tornadoes. They usually scam innocent homeowners with outrageously cheap offers and misleading pre-payment deductibles. These are the common warning signs:
- The contractor demands an upfront payment or a large down payment
- They compel you to sign a contract right away
- It sounds too good to be true. Whether it’s shockingly cheap bid compared to others, or whatever other reason.
Final Meeting
The final meeting is as crucial as the other steps in the hiring process. There’s a handful of things to iron out before the project begins:
- Reconfirm the roofer’s initial quote
- Explore payment options and make sure both parties agree on a payment plan
- Ask for a copy of the contract, project plan, bills and invoices, proof of insurance, local government permits, and order changes
Wrapping It Up – Roofing Contractor Services
There’s no turning back once you sign the contract, so see that you get it right the first time. If you follow these steps, then you should see yourself hiring the best available roofing contractor. A roof repair or replacement project is one of the priciest investments for you this year, so there’s no room for mistakes.