ways winter impacts your roof

Ways winter impacts your roof

Ways Winter Impacts Your Roof

As winter descends upon the northern landscapes of Canada, homeowners face a unique set of challenges in ensuring their abodes stand resilient against the season’s frosty grip. Among the vulnerable components of a home, the roof stands as a silent sentinel, combating heavy snow loads, freezing temperatures, and a myriad of winter-related adversities. In this comprehensive guide, we will delve into the manifold ways winter impacts your roof and unveil effective solutions to safeguard your home during the colder months.

Heavy Snowfall and Structural Stress:

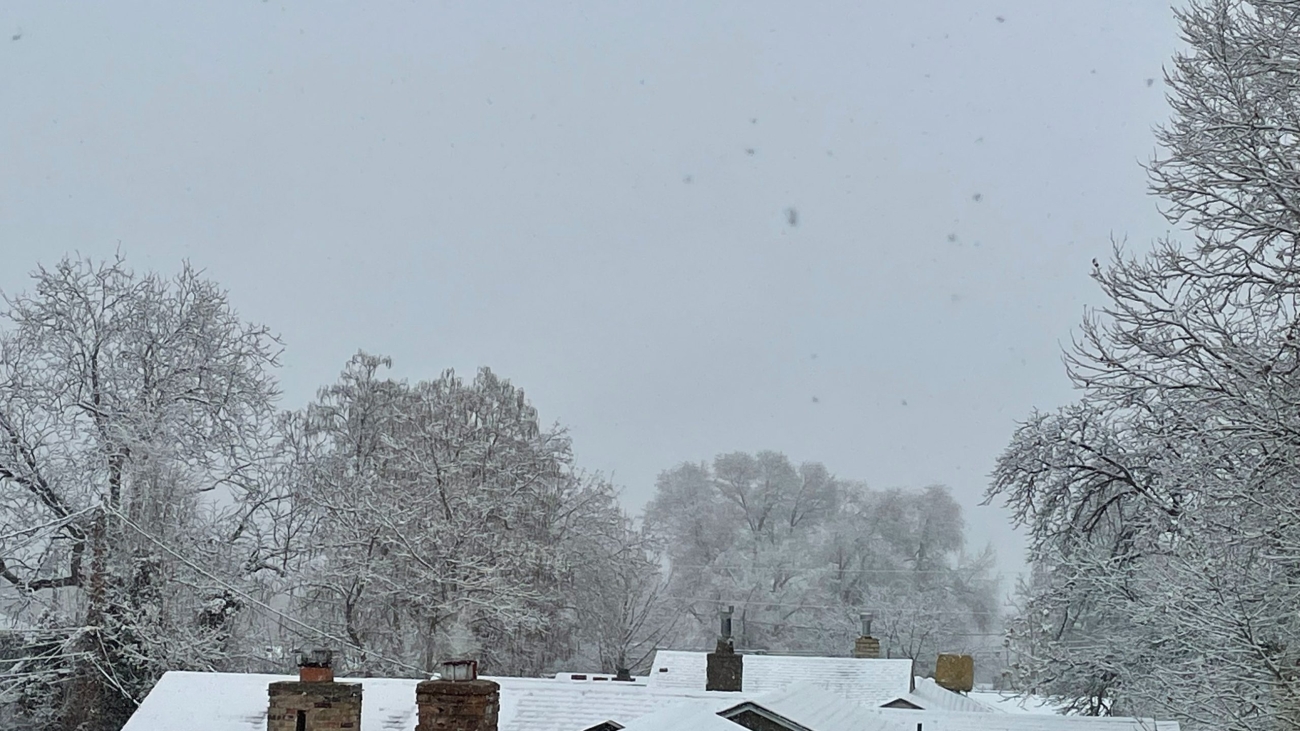
The picturesque snowfall that blankets your home can be enchanting, but beneath its beauty lies a potential threat. The accumulation of heavy snow on your roof poses a significant risk to its structural integrity. The sheer weight of the snow can stress the roofing materials and framing, leading to potential damage or, in extreme cases, collapse. This risk is especially pronounced for flat or low-pitched roofs. To mitigate this threat, proactive snow removal becomes crucial. Consider using a roof rake to safely clear excess snow or, for larger tasks, ask the professionals at Cambie Roofing for a snow removal referral, to alleviate the burden and preserve your roof’s resilience.

Ice Dams and Water Intrusion:

Winter’s fluctuating temperatures contribute to the formation of ice dams along the roof’s edge. These dams obstruct the natural drainage of melting snow, creating pools of water that may seep into your home, causing water damage. Proper insulation and ventilation in the attic are paramount to counter this issue. By maintaining a consistent temperature on the roof, you can thwart the conditions conducive to ice dam formation and prevent potential water intrusion. Adequate insulation also helps to minimize heat loss, reducing the risk of ice damming.

Freeze-Thaw Cycles and Shingle Vulnerability:

Winter’s relentless freeze-thaw cycles pose a unique threat to roofing materials, particularly shingles. The constant contraction and expansion can render shingles brittle, leading to cracks and vulnerabilities. A thorough pre-winter roof inspection is paramount to identify any compromised shingles and address them promptly. This proactive measure ensures your roof remains steadfast against the elements. Consider investing in high-quality shingles designed to withstand the rigours of winter, providing an added layer of protection.

Condensation Challenges and Attic Health:

Condensation and moisture issues within the attic space escalate during winter. Inadequate insulation allows warm air from your living spaces to infiltrate the attic, where it meets the cold roof surface, leading to condensation. This moisture can foster mold growth and compromise your roof’s structural integrity over time. Prioritize proper attic insulation and ventilation to create a barrier against these winter-induced challenges. Adequate ventilation allows for proper airflow, preventing the buildup of excess moisture and maintaining a healthy attic environment.

Gutter and Downspout Conundrums:

Winter poses unique challenges for gutters and downspouts, often leading to freezing and blockages. When not addressed, these issues can impede proper water drainage, causing potential damage. Regularly clearing debris from gutters and ensuring downspouts remain unobstructed are essential preventive measures. This not only protects your roof but also safeguards your home’s foundation from water-related issues. Consider installing gutter guards to minimize the accumulation of debris, reducing the need for frequent cleanings.

Final Thoughts

As winter casts its wintry spell, understanding the nuanced impact on your roof is crucial for homeowners in Canada. By proactively addressing the challenges of heavy snow loads, ice dams, freeze-thaw cycles, condensation, and gutter issues, you can fortify your roof against the elements. Embrace these solutions to ensure your home stands resilient and secure throughout the winter, weathering the challenges with grace and strength. A well-prepared roof not only preserves the structural integrity of your home but also provides peace of mind as you navigate the colder months with confidence.

Safely installing Christmas lights on roofs

Safely installing Christmas lights

Safely installing Christmas lights

As the holiday season approaches, the tradition of decorating our homes with festive lights adds a warm and inviting touch to the winter landscape. While the sight of twinkling lights can bring joy, it’s crucial to approach the installation process with caution, especially when placing them on roofs. Safely installing Christmas lights not only ensures a dazzling display but also protects your home from potential damage. In this comprehensive guide, the experts at Cambie Roofing will delve deeper into tips and techniques to help you safely adorn your roof with holiday lights while preserving the integrity of your roofing system. Keep reading to learn more about safely installing Christmas lights on roofs this holiday season.

Safety First:

Before embarking on your festive lighting project, prioritize safety. The safety of both yourself and those assisting you is paramount. Begin by ensuring that your ladder is in good condition and positioned on a stable surface. A wobbly or unstable ladder can lead to accidents. It’s advisable to use a buddy system, having someone else present during the installation process. This not only provides an extra pair of hands but also adds an additional layer of safety. If your roof is steep or particularly high, consider hiring a professional to handle the installation. They are equipped with the experience and tools necessary to navigate challenging roof structures safely.

Choose the Right Lights:

Opting for lights specifically designed for outdoor use is essential. Look for a label indicating that they are suitable for all-weather conditions. LED lights are a fantastic choice for outdoor decorations. Not only are they energy-efficient, reducing your electricity consumption, but they also emit less heat. This lower heat emission is beneficial in preventing any potential damage to your roof or other surfaces. Investing in high-quality, outdoor-rated lights ensures not only a stunning display but also the longevity of your decorations.

Inspect Your Roof:

Before attaching any lights, a thorough inspection of your roof is crucial. Identify any existing damage or vulnerabilities that might be exacerbated by the installation process. Addressing these issues beforehand ensures that your roof is in optimal condition to support the added weight of the lights. Clear debris such as leaves and branches to create a clean, safe surface for installation. By starting with a well-maintained roof, you contribute to the overall health and longevity of your roofing system.

Use Clips, Not Nails:

To avoid damaging your roof, opt for specially designed clips for light installation instead of nails or staples. These clips are designed to be roof-friendly, allowing for easy attachment and removal without causing harm to your roofing materials. Ensure the clips you use are suitable for the type of lights you’re installing. This small investment in the right accessories can prevent potential damage and make the removal process smoother.

Mind the Weight:

Be mindful of the weight of the lights and any additional decorations you plan to install. Excessive weight concentrated in one area can strain your roof structure. Distribute the lights evenly across your roof, considering the load-bearing capacity of different sections. This not only protects your roof from potential damage but also enhances the overall aesthetics of your display.

Secure Wiring Safely:

Keep wiring secure and away from walkways to prevent tripping hazards. Use insulated extension cords rated for outdoor use to ensure they can withstand varying weather conditions. When securing cords, avoid running them under heavy objects that could damage the wiring. Additionally, be cautious not to pinch cords in windows or doors, as this can lead to fraying or other damage.

Be Weather-Wise:

Choose installation days with favorable weather conditions. Attempting to install lights during adverse weather, such as rain or snow, can increase the risk of accidents and damage to your roof. If possible, plan your installation on a dry and mild day. Weather-appropriate installation not only ensures safety but also helps preserve the quality of your decorations, preventing potential issues caused by exposure to the elements.

Turn Off Lights When Not in Use:

To conserve energy and reduce the risk of overheating, turn off your Christmas lights when you’re not at home or when you go to bed. This simple measure not only saves electricity but also contributes to the longevity of your lights. Additionally, it reduces the strain on your roof by minimizing the time the lights are in use.

Conclusion:

By following these guidelines for safely installing Christmas lights on roofs, you can transform your home into a festive wonderland while safeguarding your roof from potential harm. Prioritizing safety, choosing the right materials, and taking preventative measures will ensure that your holiday light installation is not only visually stunning but also a stress-free and enjoyable experience. Embrace the spirit of the season, knowing that your efforts are enhancing the beauty of your home without compromising its structural integrity. Remember, a well-lit and secure holiday display brings joy without the worry of roof damage.